

The Simple Guide To Mastering Your Camera in Manual Mode
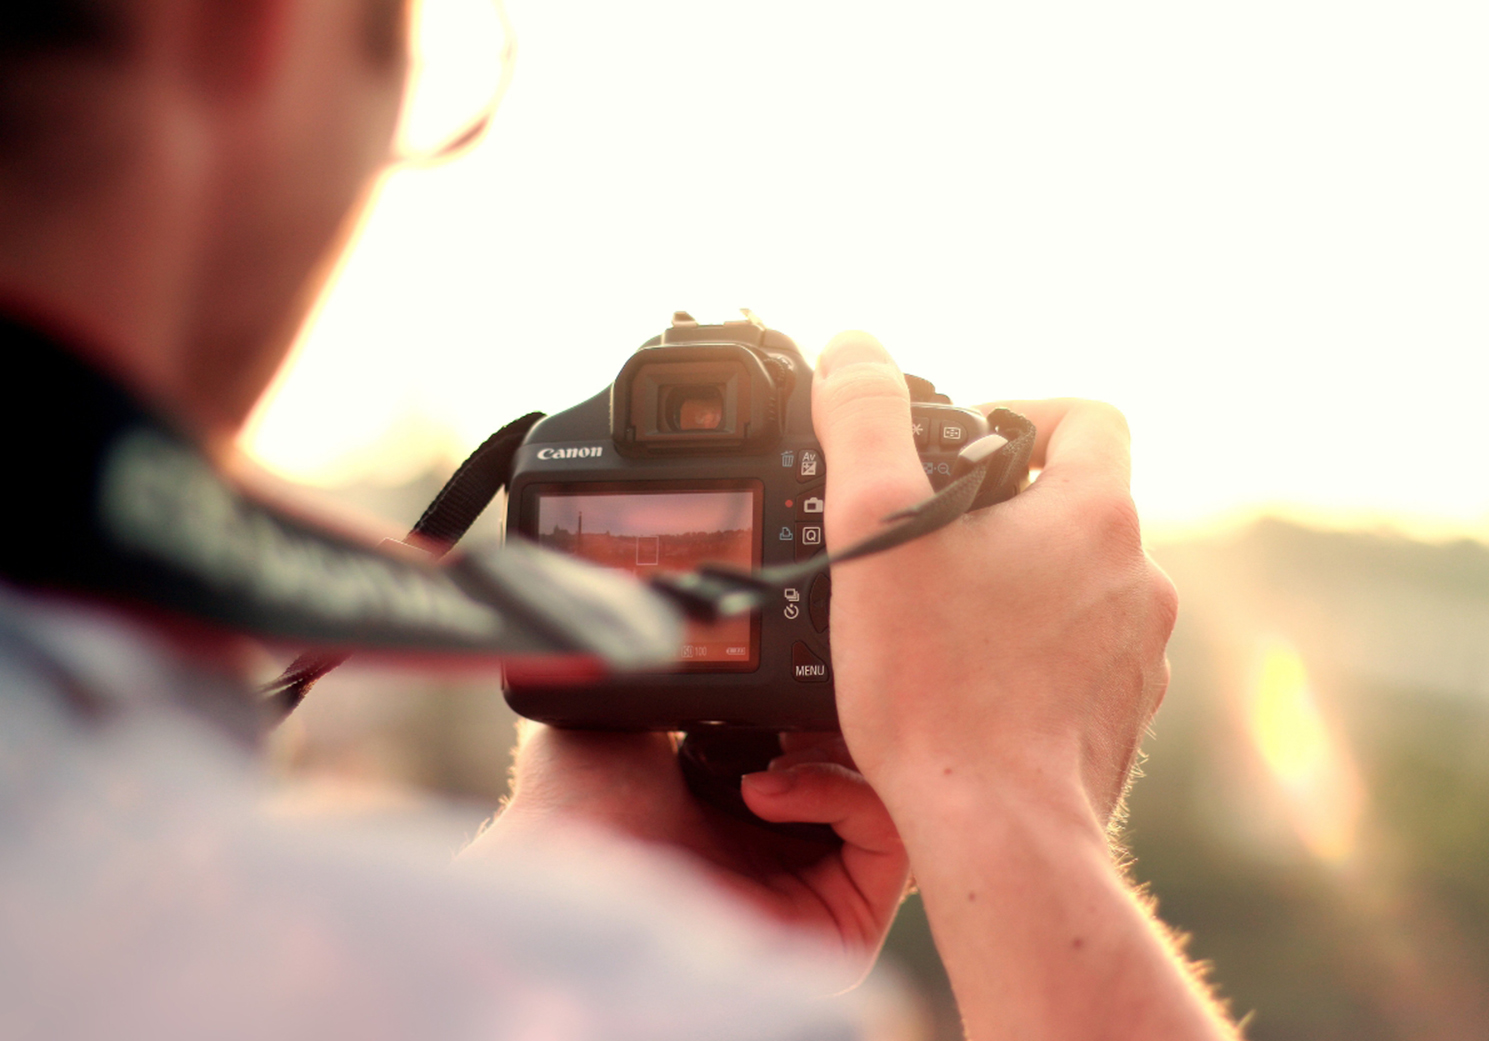
When you first pick up a camera, the auto mode feels like a safe friend - it makes decisions for you. But at some point, every photographer hits a wall. Your pictures start looking the same, or the camera chooses settings that don’t match the picture you envisioned. That’s normally when it’s time to take the leap into manual mode.
So what is Manual Mode?
Manual mode lets you control three key settings that will determine how bright, sharp, or artistic your pictures will be.
Now don’t worry, it’s not as complicated as it seems. Once you understand the basics, you’ll have complete control over your photography. This quick guide will break it down into simple, beginner-friendly steps.
Step 1 - Understand the Exposure Triangle
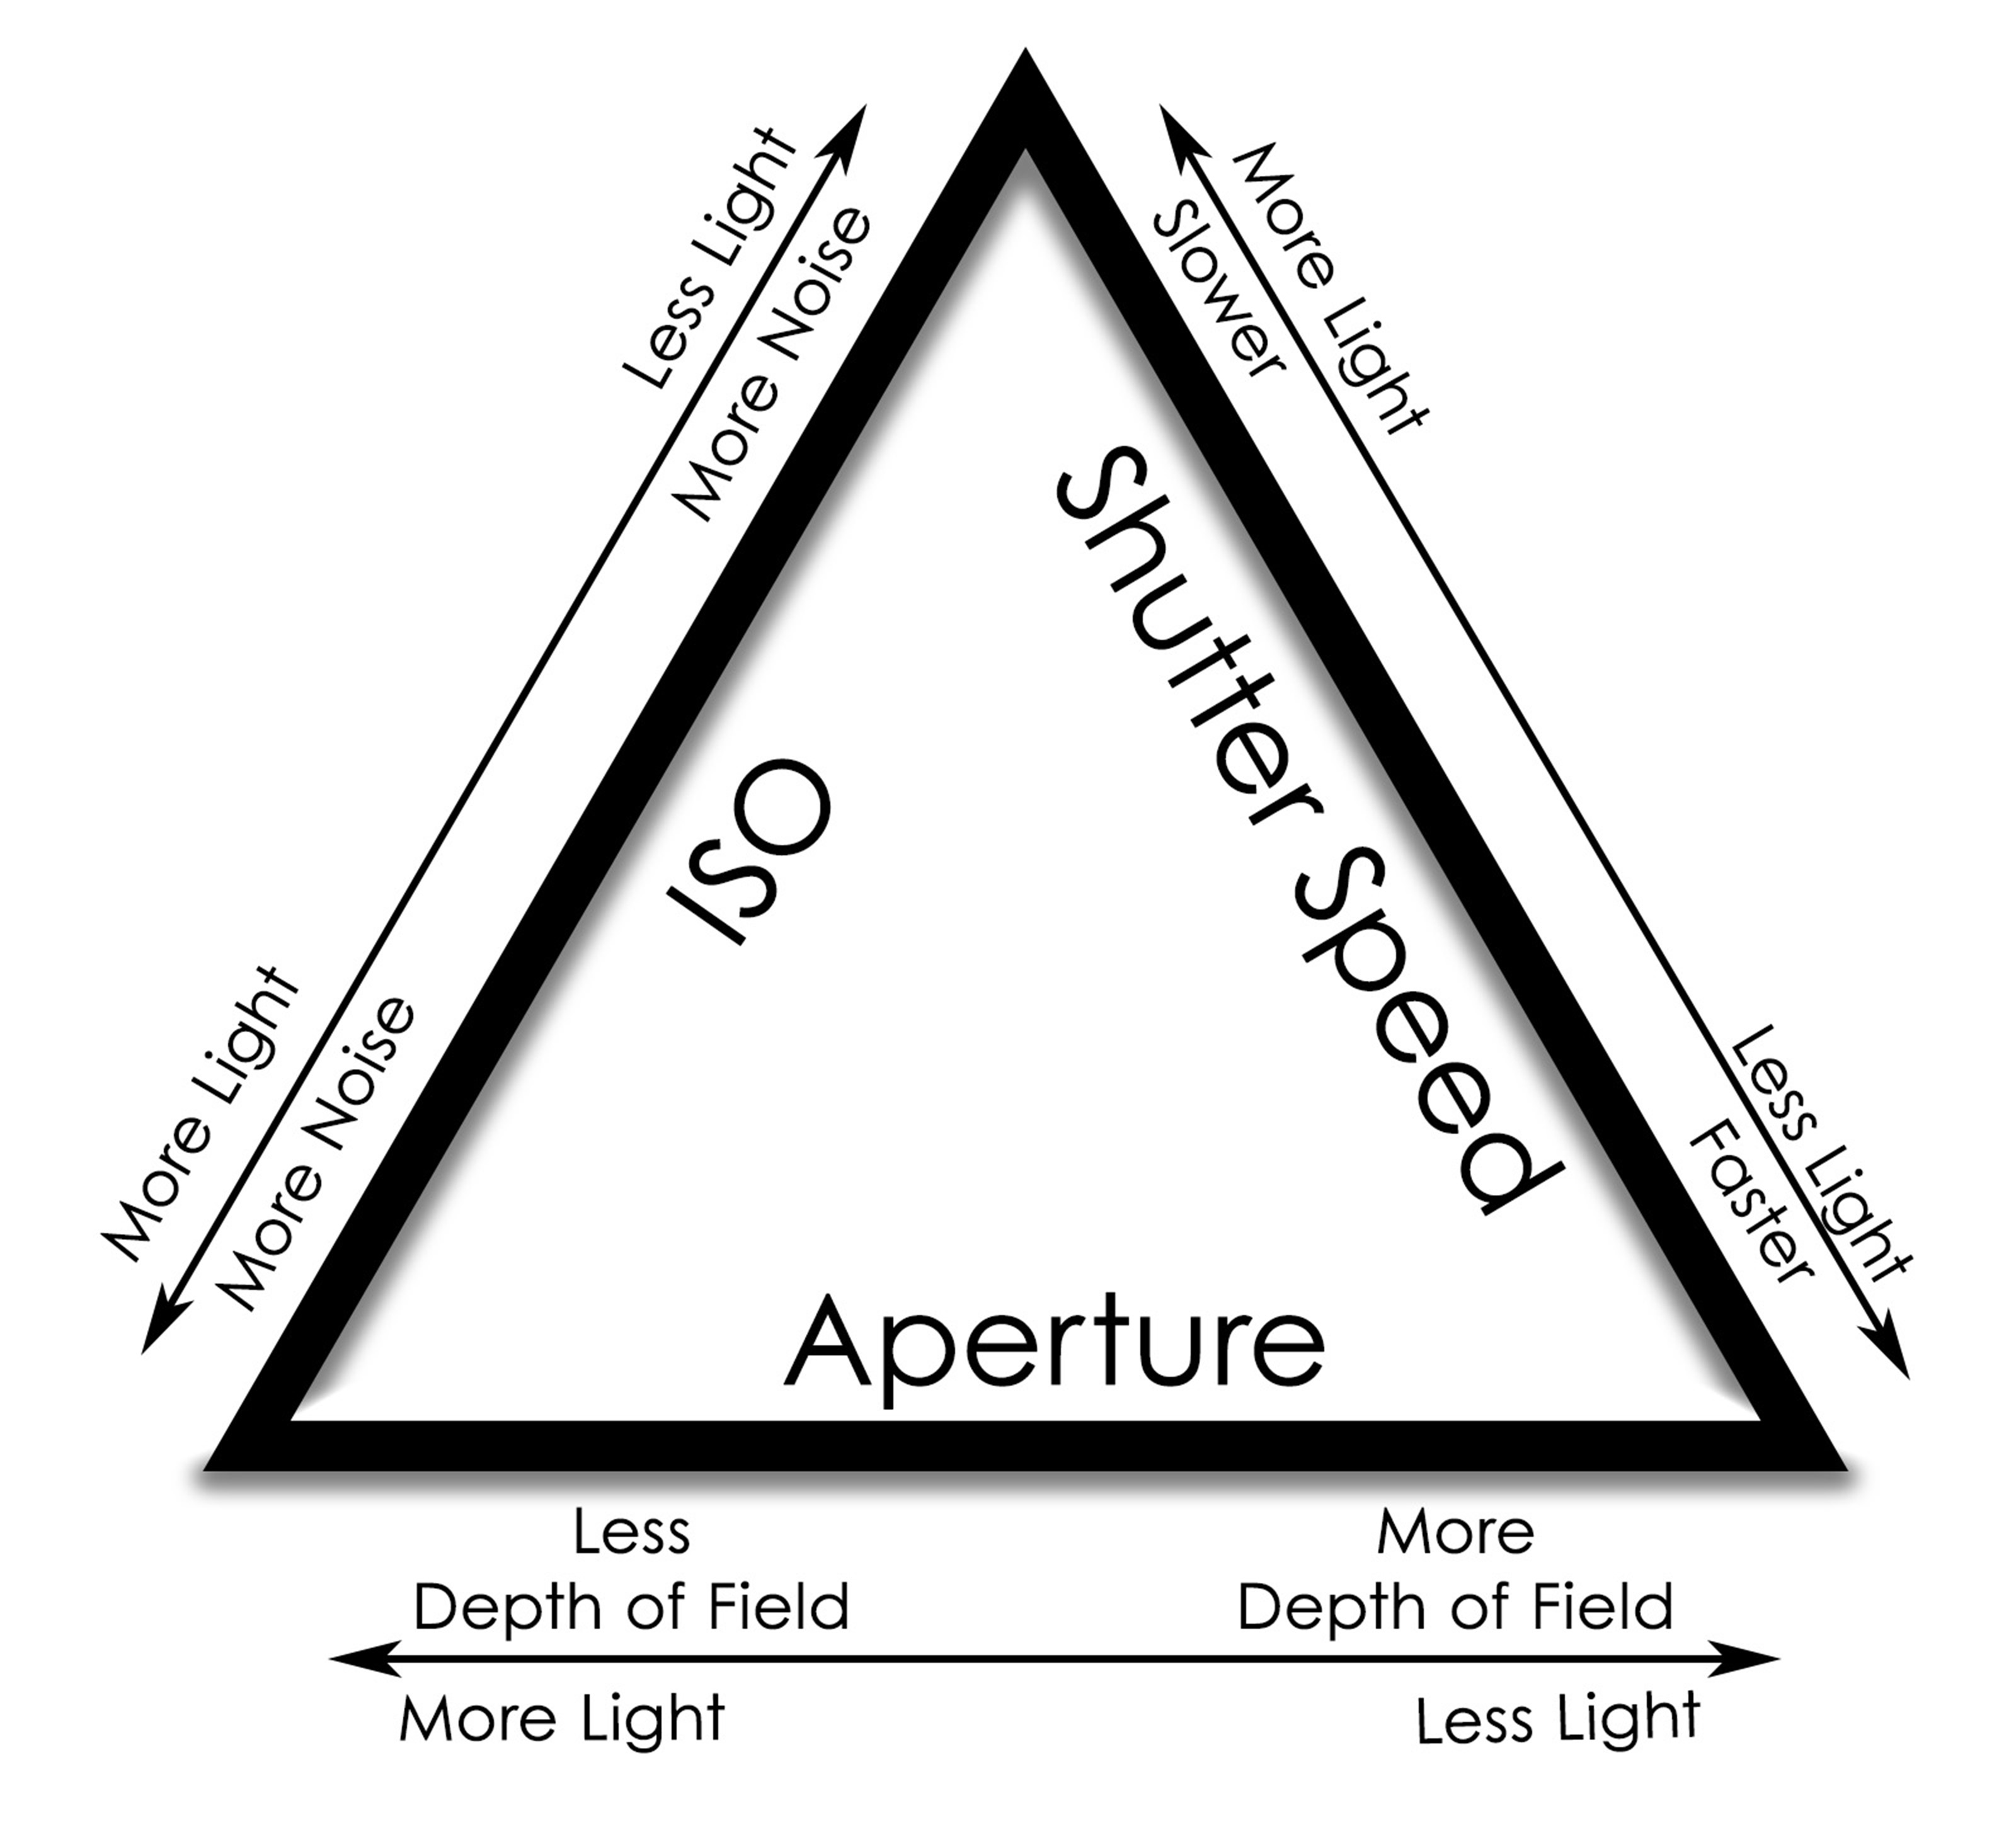
At the heart of manual mode is something called the exposure triangle. It’s made up of three settings that basically work together to determine how bright or dark your picture will be.
The three settings are:
Aperture ( f-stop )
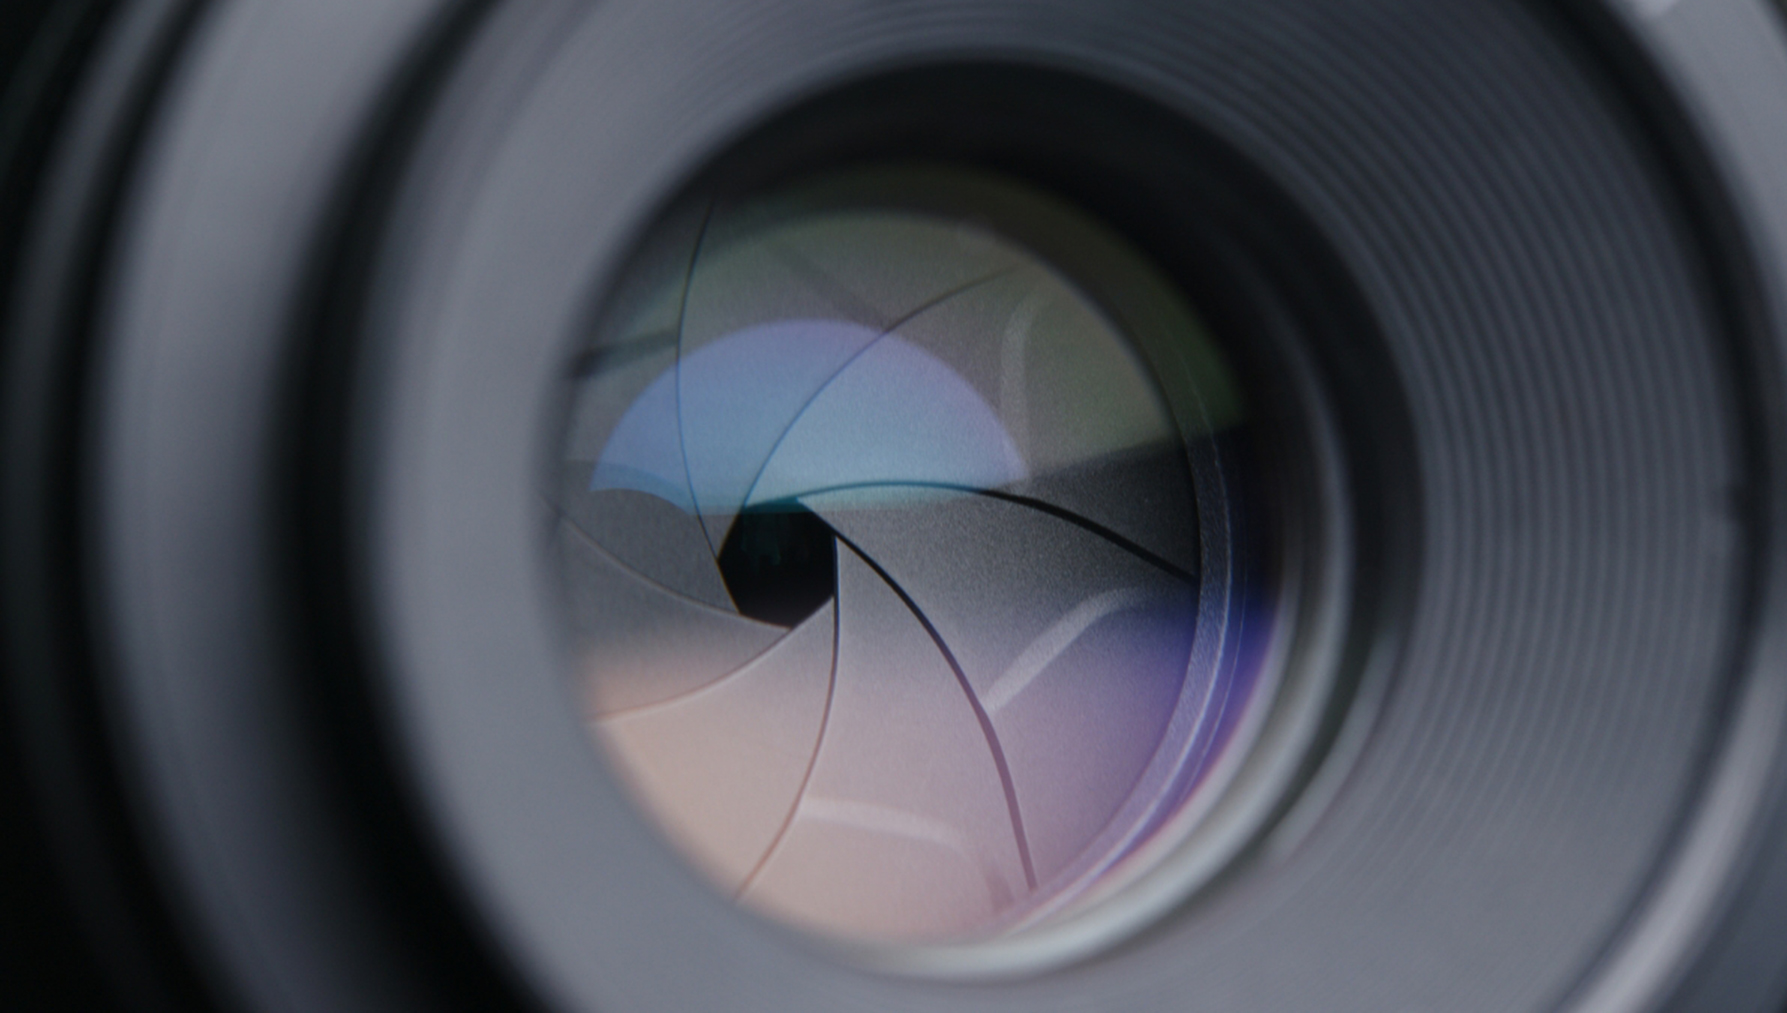
Think of aperture as the pupil of your camera.
A wide aperture, or small number, like f/2.8, lets in more light but less of the picture is in focus.
A narrow aperture, or larger number, like f/16, lets in less light but keeps more of the picture in focus.
Shutter Speed
This is how long the camera’s shutter stays open.
A slow shutter speed, or small number like 1/10 sec, lets in more light but it creates motion blur.
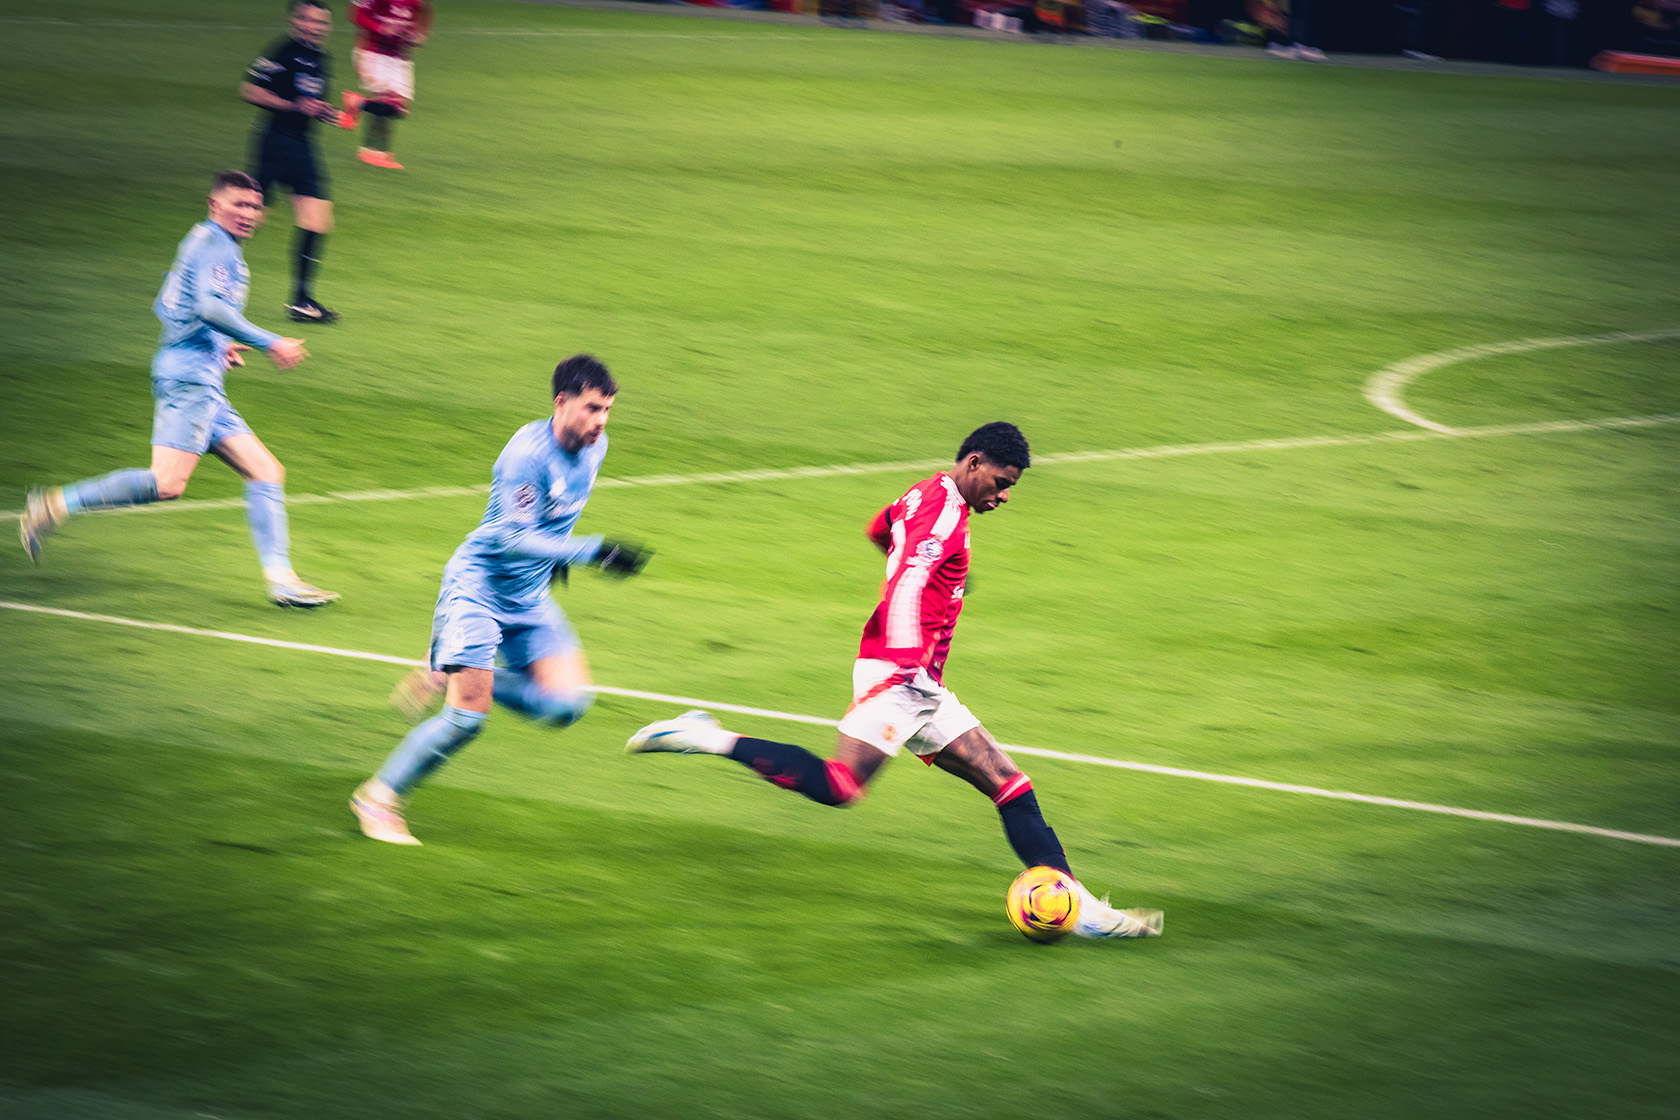
A faster shutter speed, or larger number like 1/ 1000 sec, lets in less light but freezes action.
ISO
ISO is your cameras sensitivity to light. So try to think of your ISO button as a volume button for light.
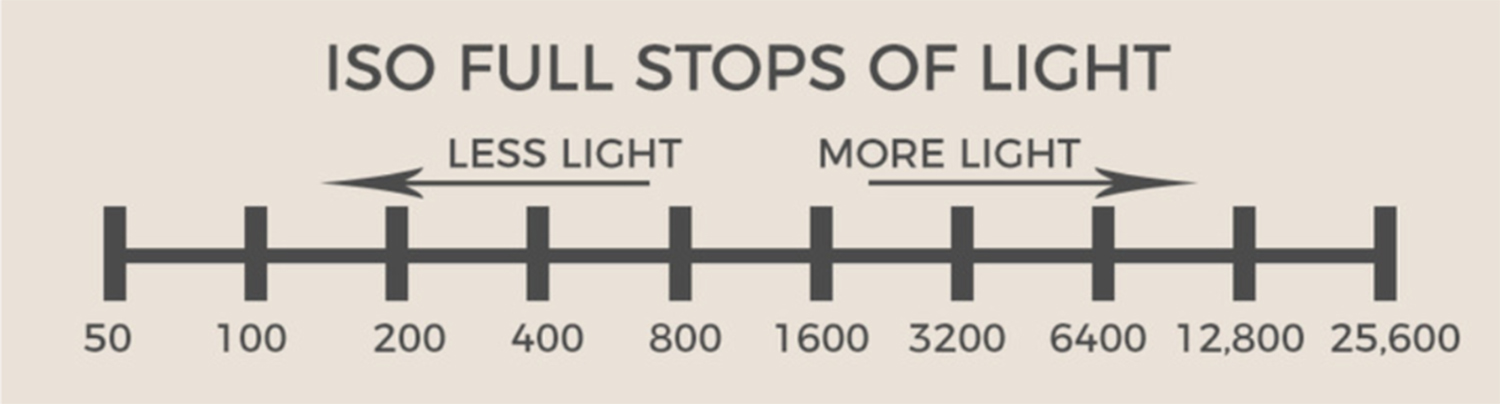
A low ISO number, like 100, lets in less light, and the pictures tend to be sharper with less digital noise.
A high ISO number, like 3200, lets in more light, and increase the digital noise in your pictures.
Typically, you would choose a low ISO number when shooting in daylight and a high number when shooting in dark conditions.
The magic lies in balancing all three. Try to remember that when you change one, you will often have to change at least one of the other two settings to obtain a perfectly exposed picture.
Step 2 - Start With a Simple Formula
When you first switch to manual, try this easy starter setup.
ISO: 100 (For Daylight)
Aperture: f/5.6
Shutter Speed: 1/125 sec
Take a test shot. Is it too bright? Increase your shutter speed, or increase your aperture. Too dark? Do the opposite. What I would say here is that the setting you change should always depend on the type of picture you want to take. So if you are taking a portrait, you would want a blurry background which means using a low f-stop number, so if the picture was too bright with a setting like f/2.8, you would have to increase your shutter speed to get the desired exposure.
I would suggest starting simple, and that way you’ll learn how each adjustment changes your picture.
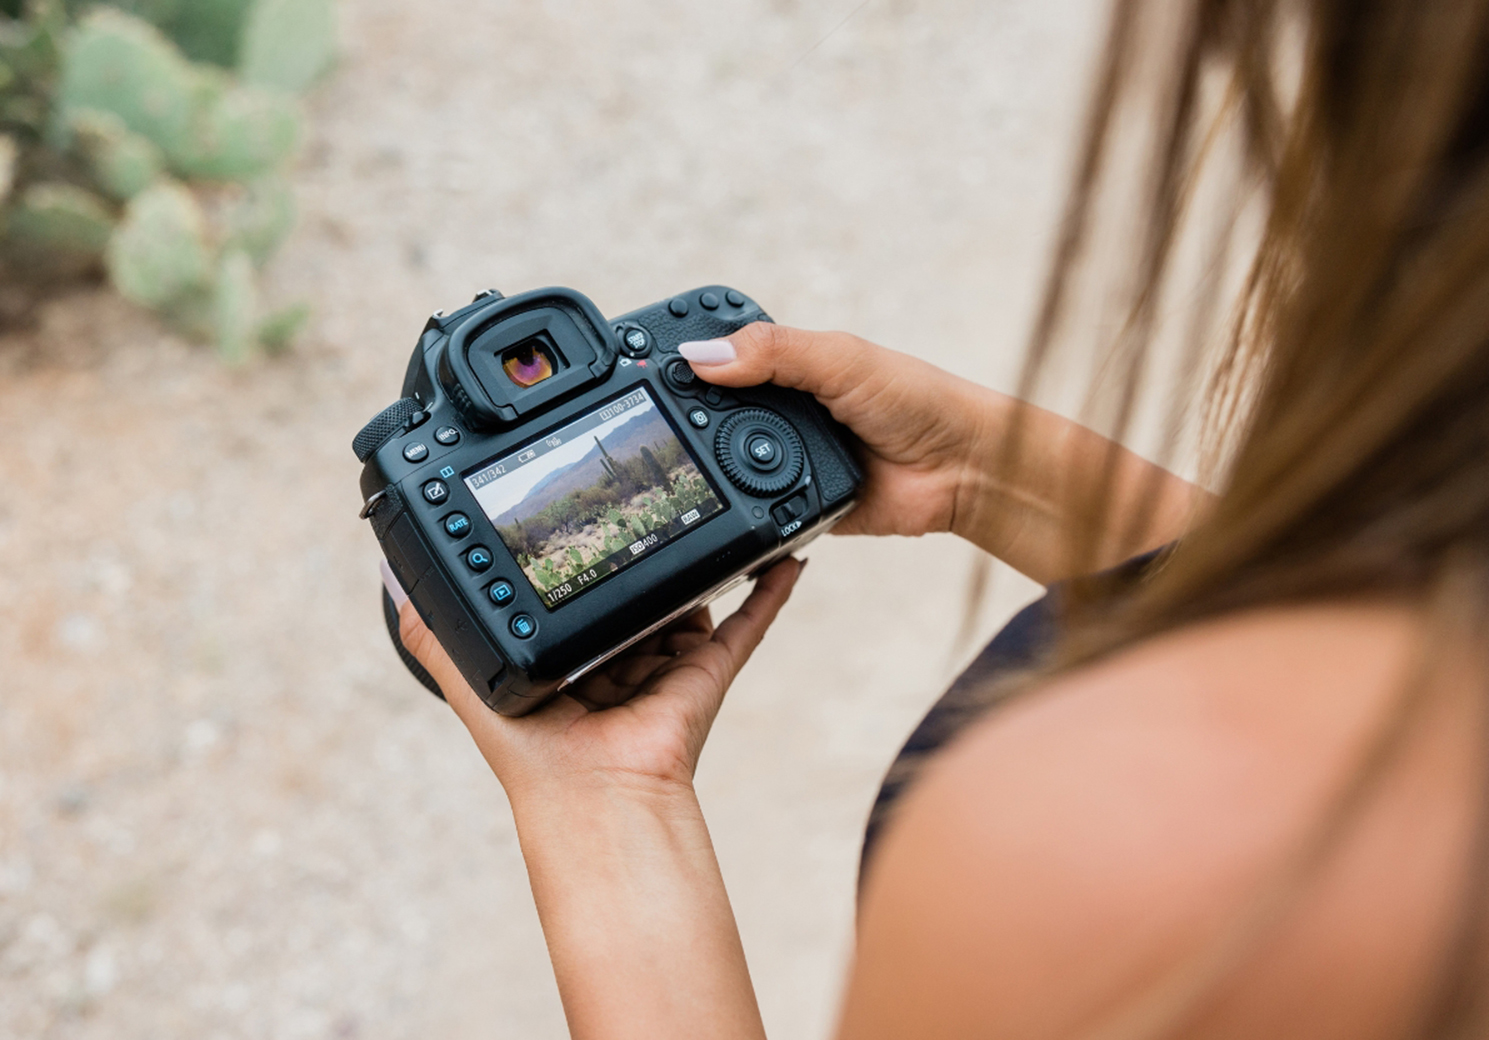
Step 3 - Learn To Read the Light Meter
Inside your camera ( Usually visible in the viewfinder or on the screen ) you’ll see a light meter - a little scale with a “0” in the middle.
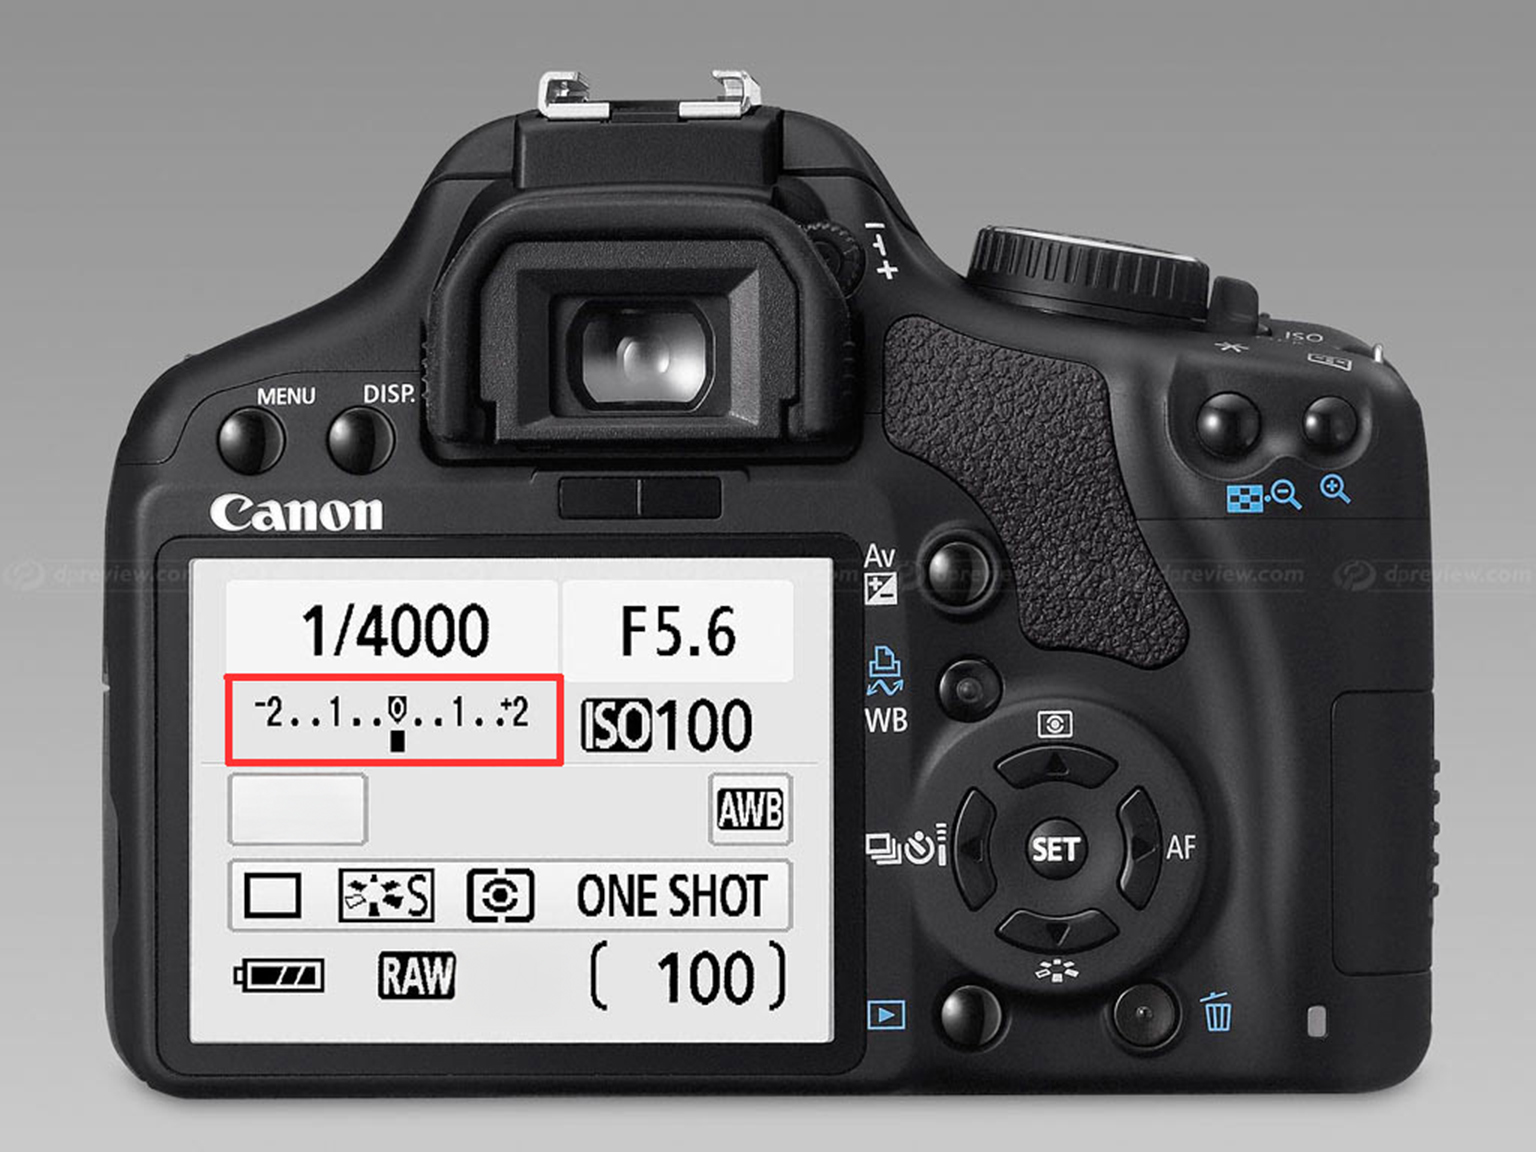
If the marker leans to the left, or the minus side, your picture is underexposed ( too dark ).
If it leans to the right, or the plus side, your picture is overexposed ( too bright ).
Aim to keep it as close to the middle as possible for a balanced exposure.
Step 4 - Practice with Different Scenarios
Manual mode is like learning to drive, you get better with practice, so here are some exercises to try:
Portraits: Use a wide aperture, low f-stop number, like f/2.8, for a blurred background and a faster shutter speed like 1/125 or 1/150 sec.
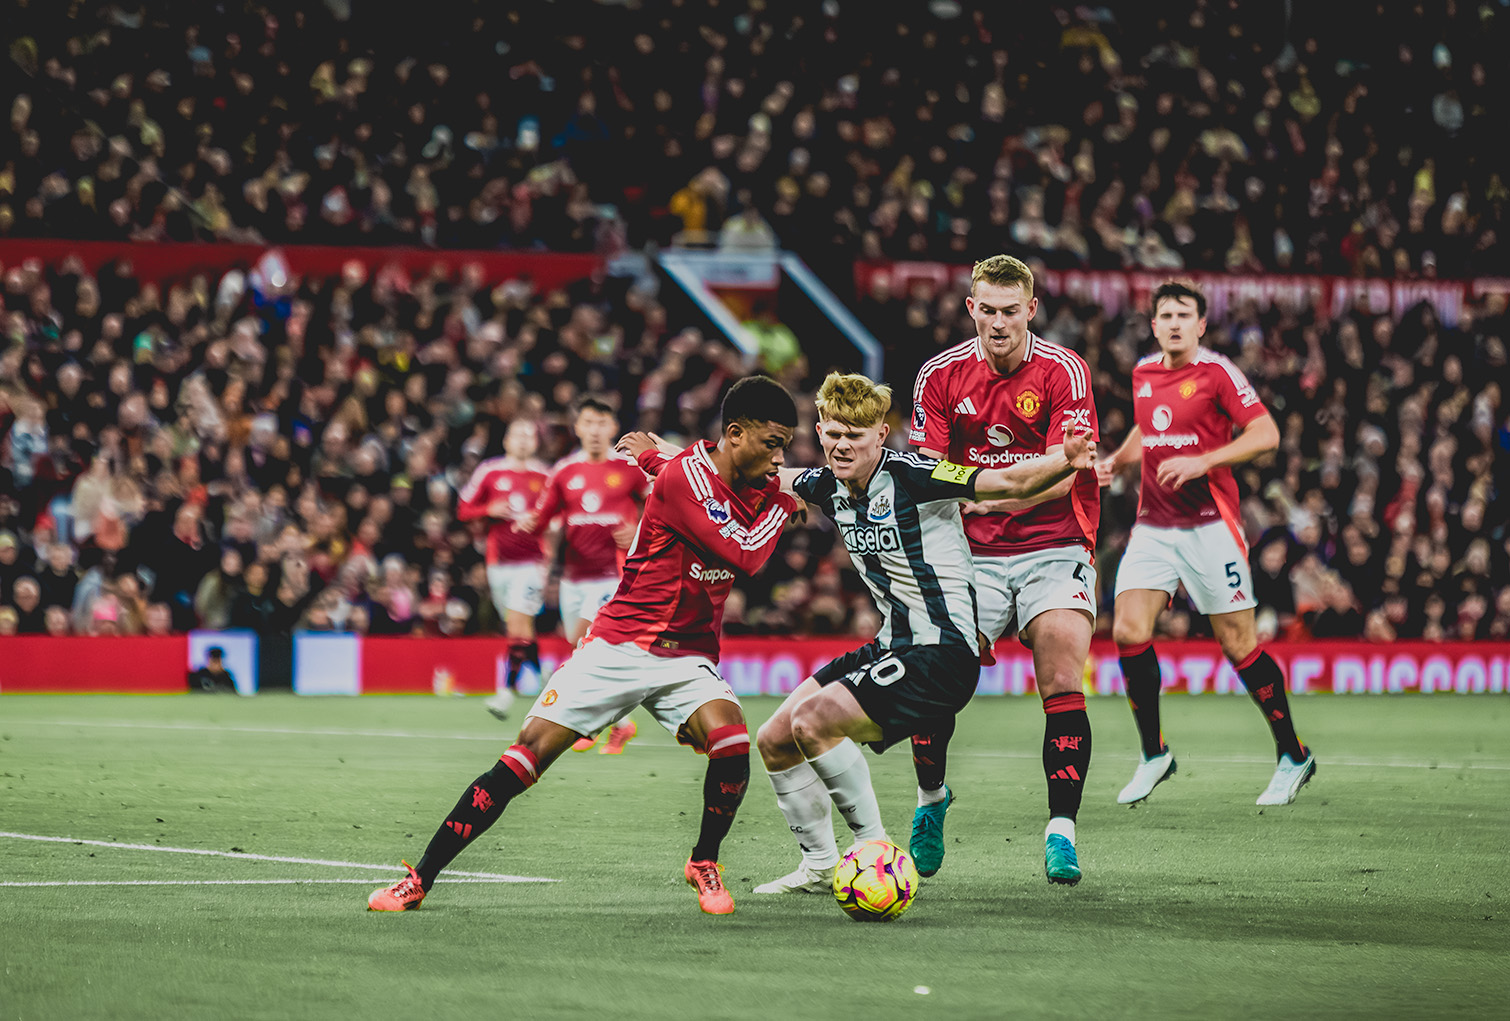
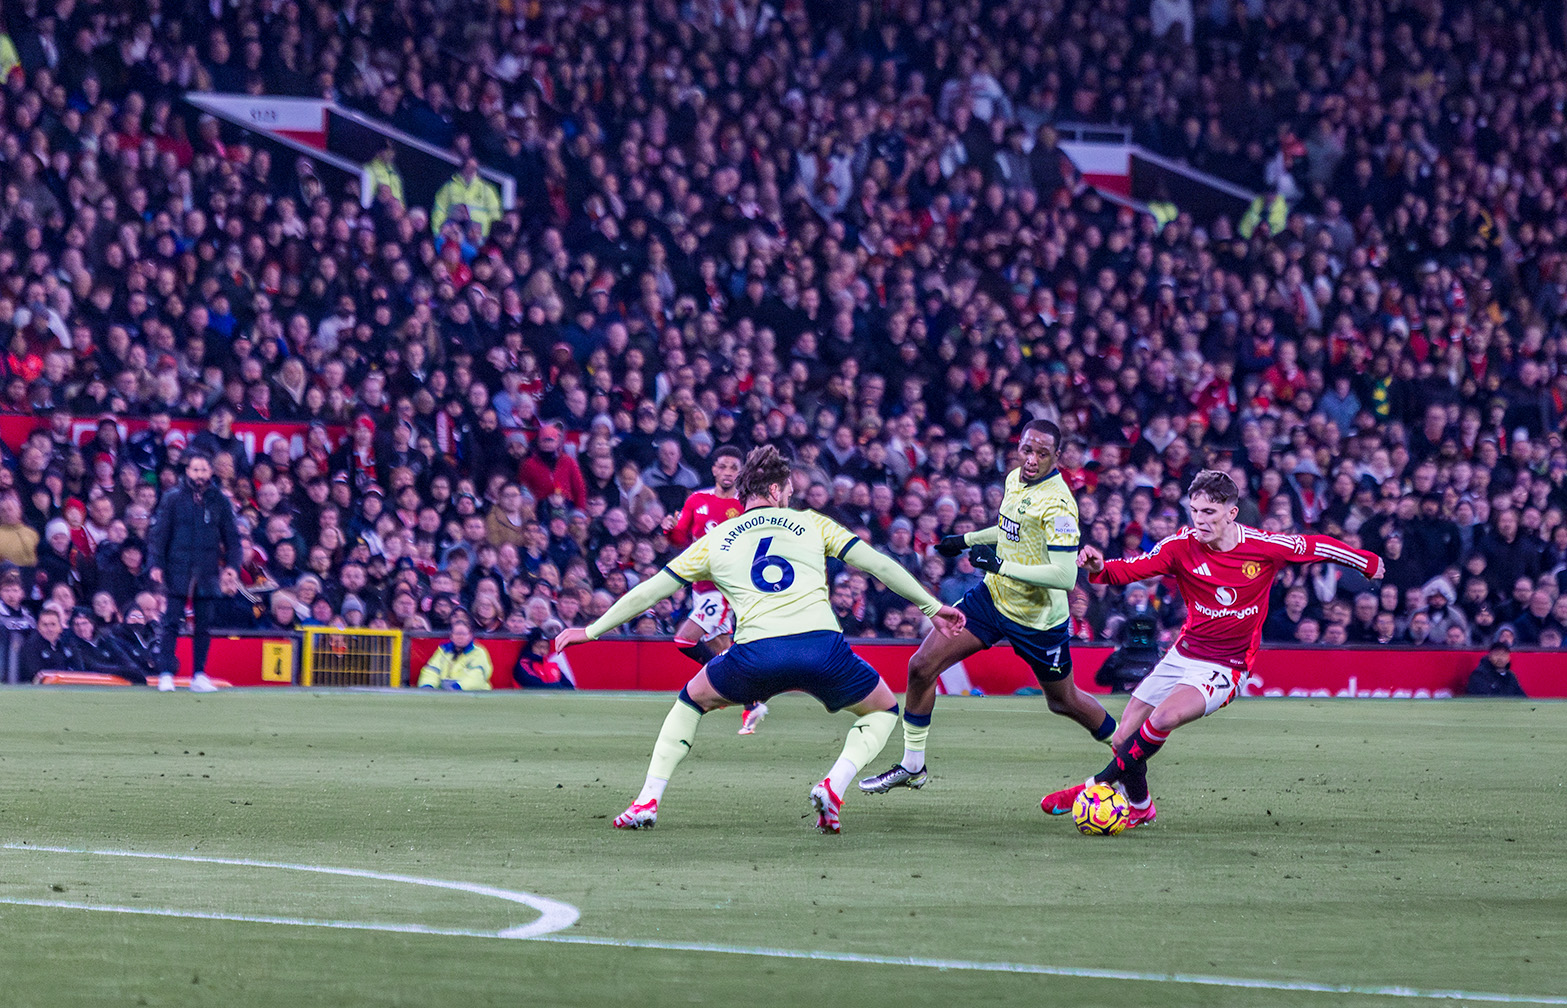
Action Shots: Use a fast shutter speed, like 1/1000 sec to freeze movement.
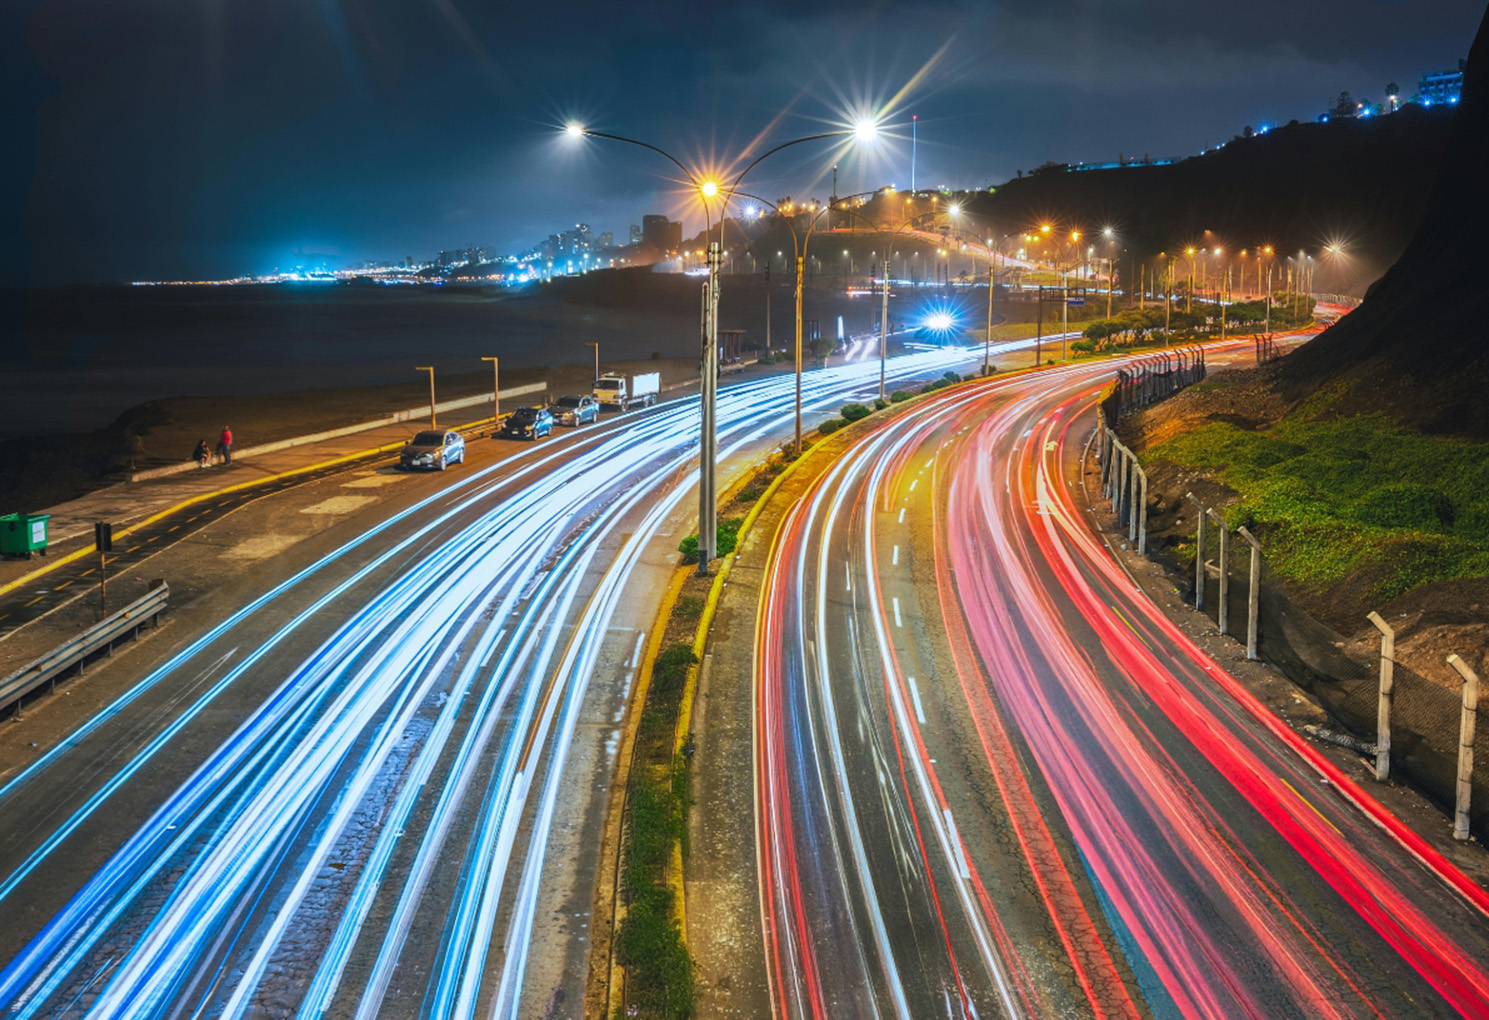
Night Photography: This will require a tripod, but lower your shutter speed, for example 2 or 3 seconds, for light trails or star shots.
Step 5 - Embrace Mistakes
Your first attempts might be overexposed, blurry, or noisy, but that’s ok. It’s part of the learning curve. Each “bad” picture is just feedback, and it will teach you what to adjust next time. Every photographer, even professionals, takes “bad pictures” so don’t be discouraged by any you take.
Final Thoughts
Switching to manual mode isn’t about being complicated - it’s about unlocking your creativity, and it’s not as scary as it seems. It’s just about practice, and once you master it, you’ll have the freedom to capture pictures exactly how you see them. By using Auto mode, you’re allowing the camera to make decisions about how your pictures look, and they will all look the same, so Manual mode puts you in charge of how they look.
So set your camera to “M” today, experiment, and enjoy the process. The more you practice, the more natural it will become - and soon, shooting in Manual will feel just as easy as Auto.
I'll show you how to master Manual mode, plus so much more in my class, so if you want to take your photography skills to the next level, take a look at the Perfect Picture Program. In it, you’ll learn all about my SIMPLE system, designed to help you to start taking great pictures immediately with the camera you already own.
Stay connected with news and updates!
Join our mailing list to receive the latest newsletters and updates from our team.
Don't worry, your information will not be shared.
Enter your first name & email below!
We hate SPAM. We will never sell your information, for any reason.
