Low Light Photography: How to Get Sharp, Stunning Shots After Dark
Some of my favourite pictures that I've ever taken happened after the sun had already gone down. A string of lights over a quiet street, a city skyline reflected in still water, a tram passing through the city packed full of commuters. But I'll be honest, my early attempts at this kind of shooting were rough. Grainy, blurry, dark blobs where interesting subjects used to be. It took me a while to understand that low light photography isn't really about fighting the darkness, it's about understanding exactly how much light you actually have, and making every setting count.
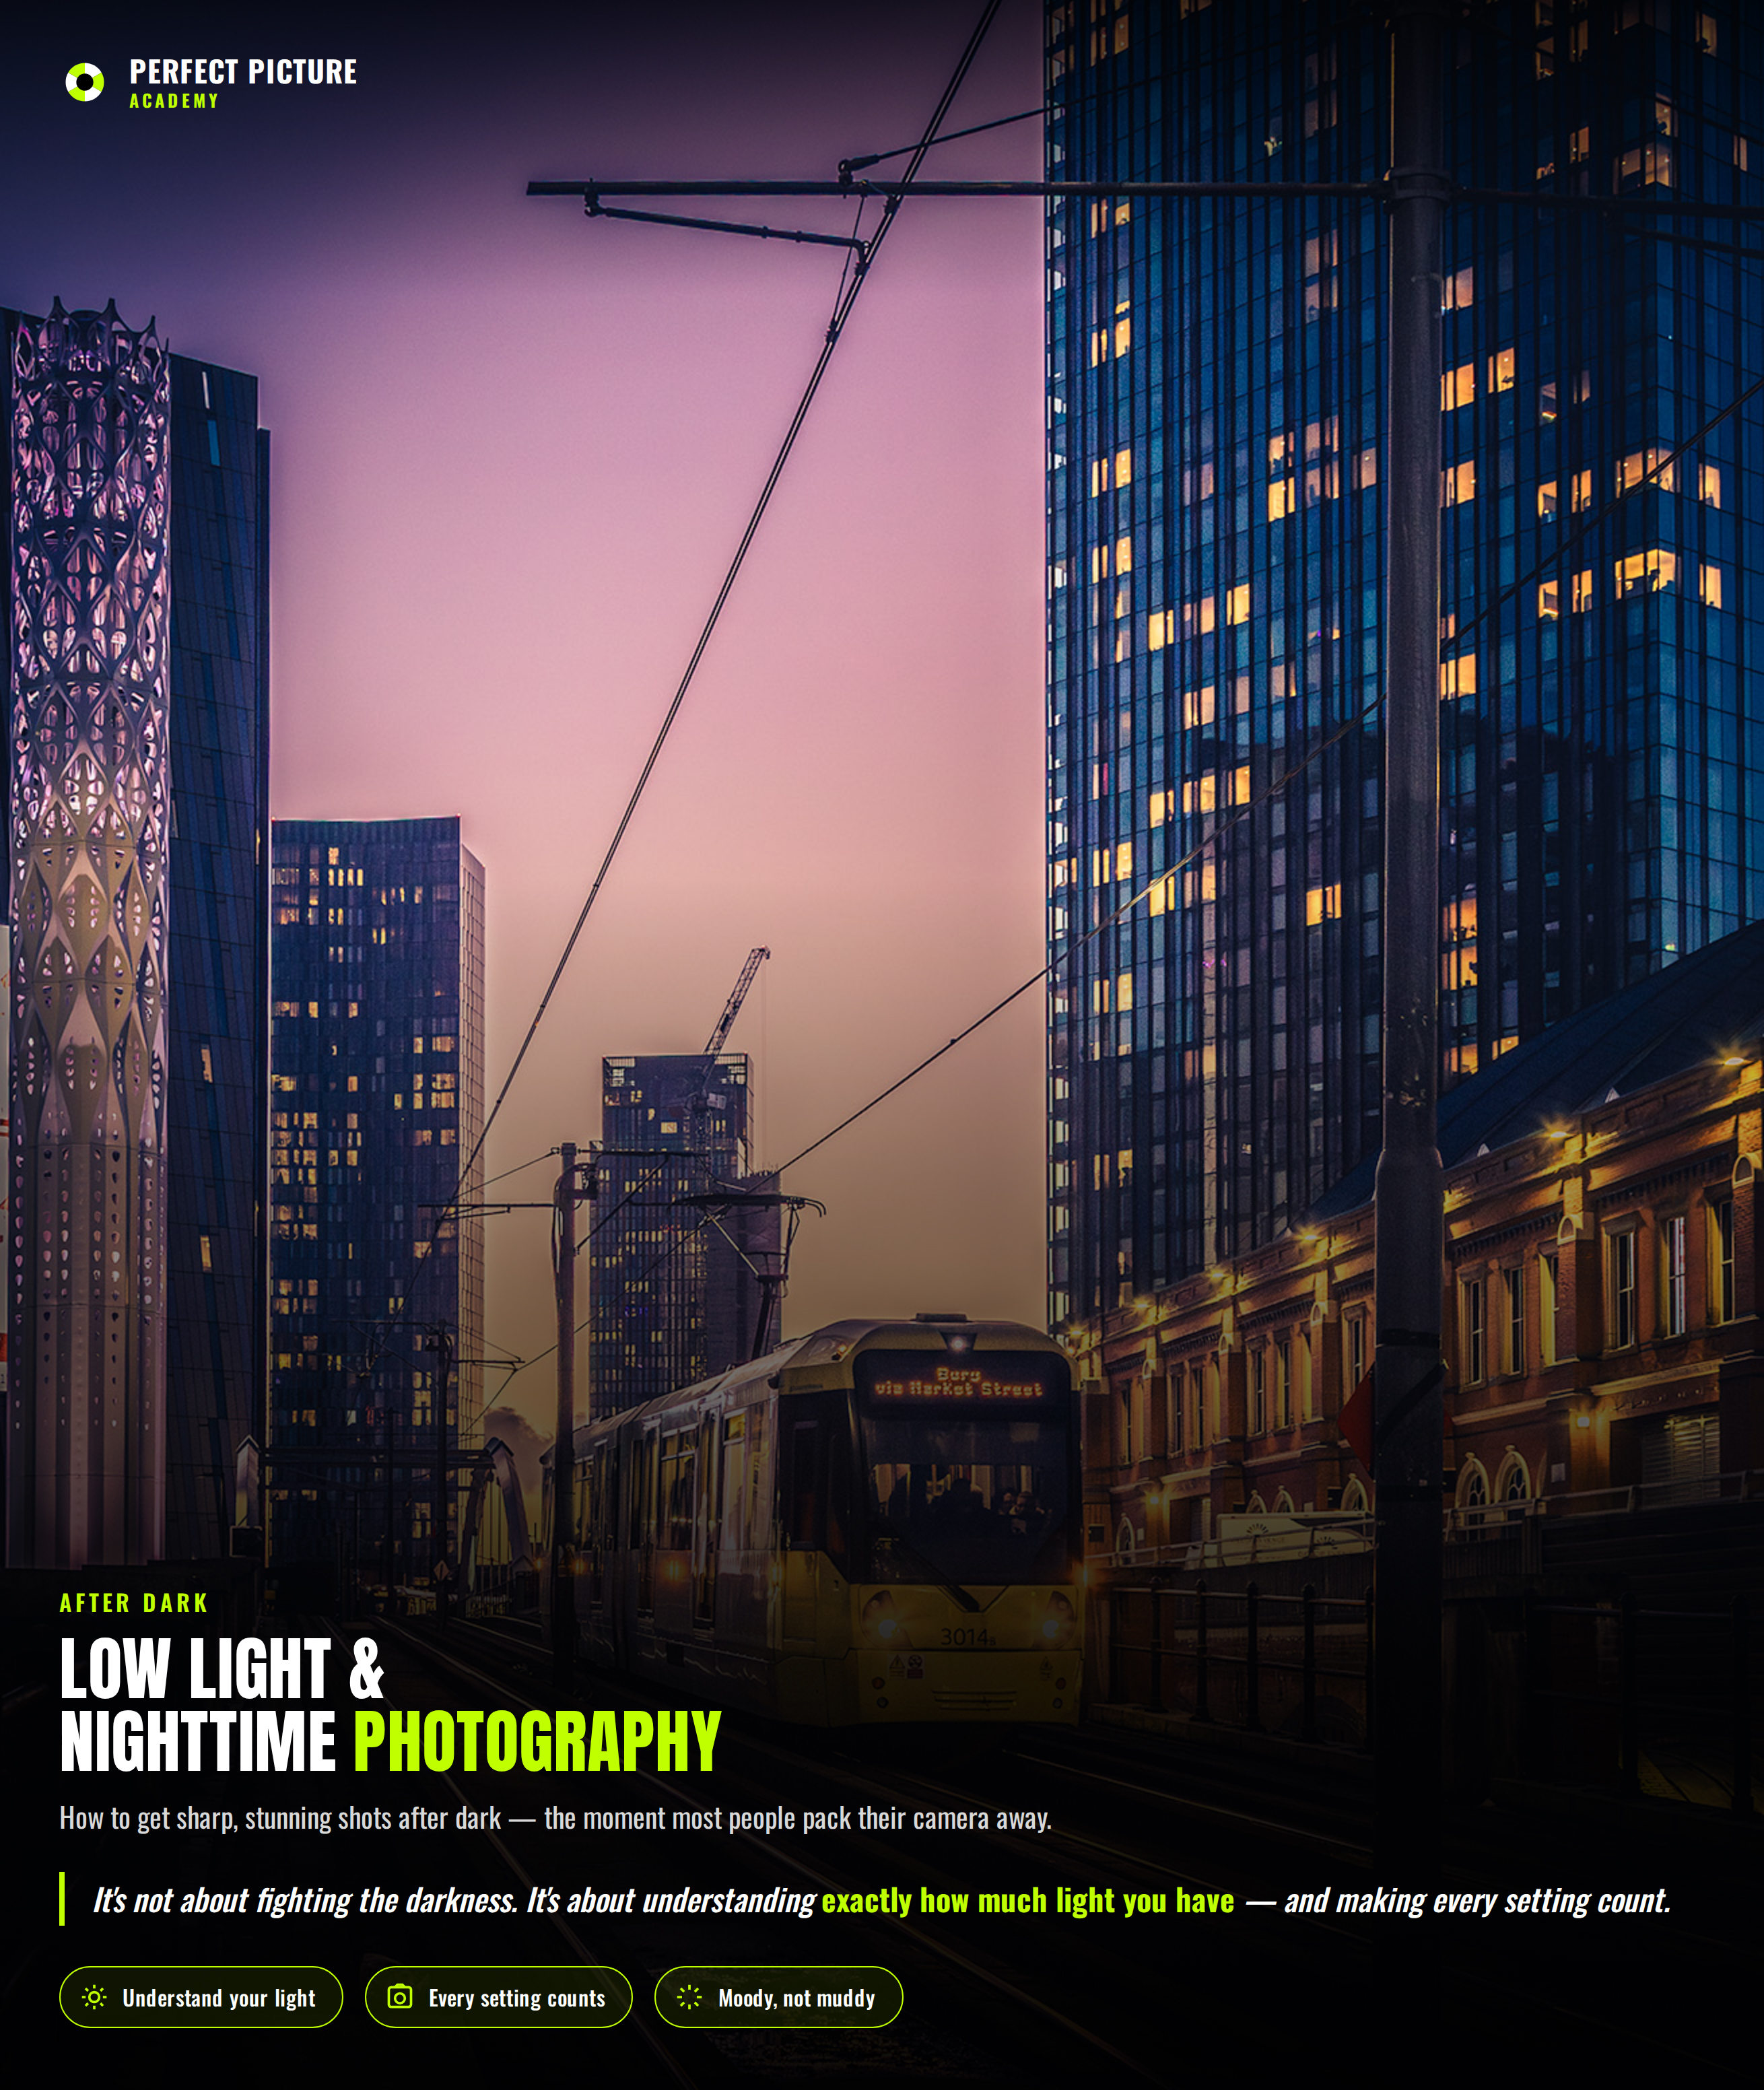
If you've ever packed your camera away the moment the sun started setting because you assumed good light was over for the day, this one's for you. Some of the most striking, moody, memorable pictures in photography happen specifically because of low light, not despite it.
Start with a Wide Aperture
This is your first and most important tool after dark. A wide aperture, something like f/1.8 or f/2.8, opens your lens up as far as it'll go, letting in the maximum amount of available light. If you're shooting in low light and your lens allows it, this is almost always the first setting I adjust before touching anything else.
Remember, wide aperture also means a shallow depth of field, so if you're photographing a person, either in the street or at a gig, be extra deliberate about where you place your focus point, ideally right on their eyes. A slightly missed focus that you could get away with in bright daylight becomes much more obvious in low light with a wide-open aperture.

Let Your Shutter Speed Do More of the Work, Carefully
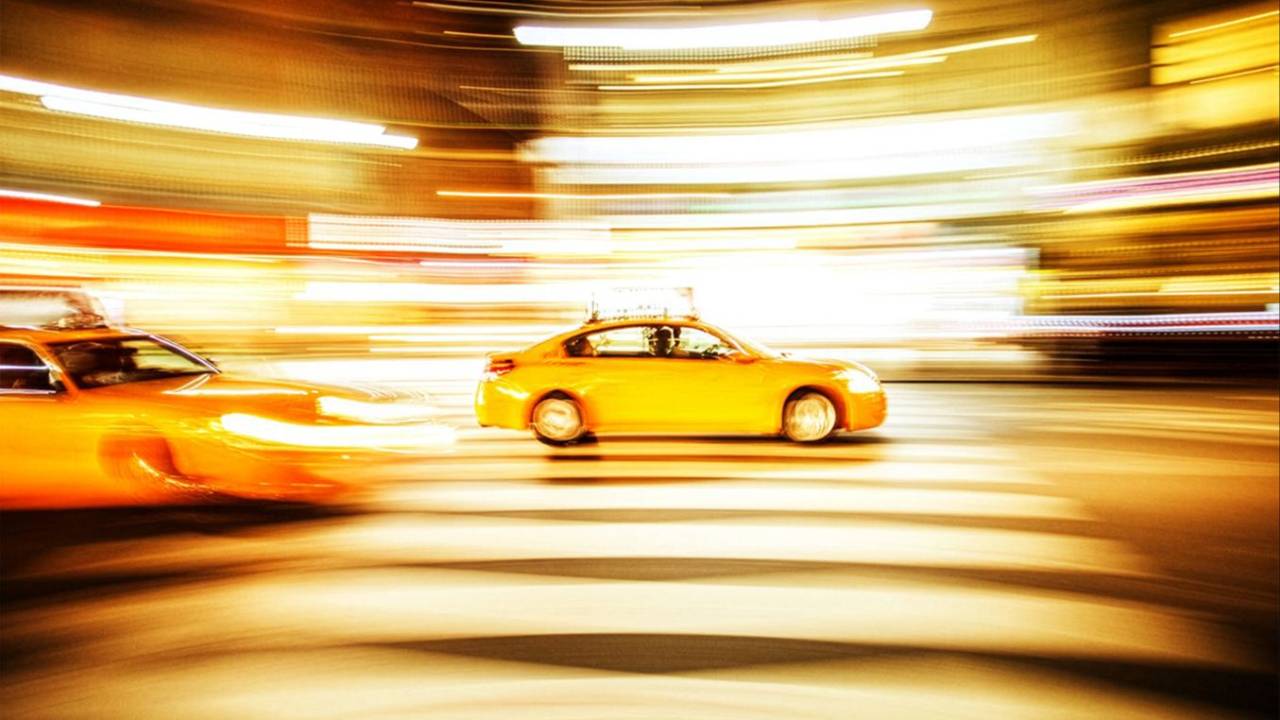
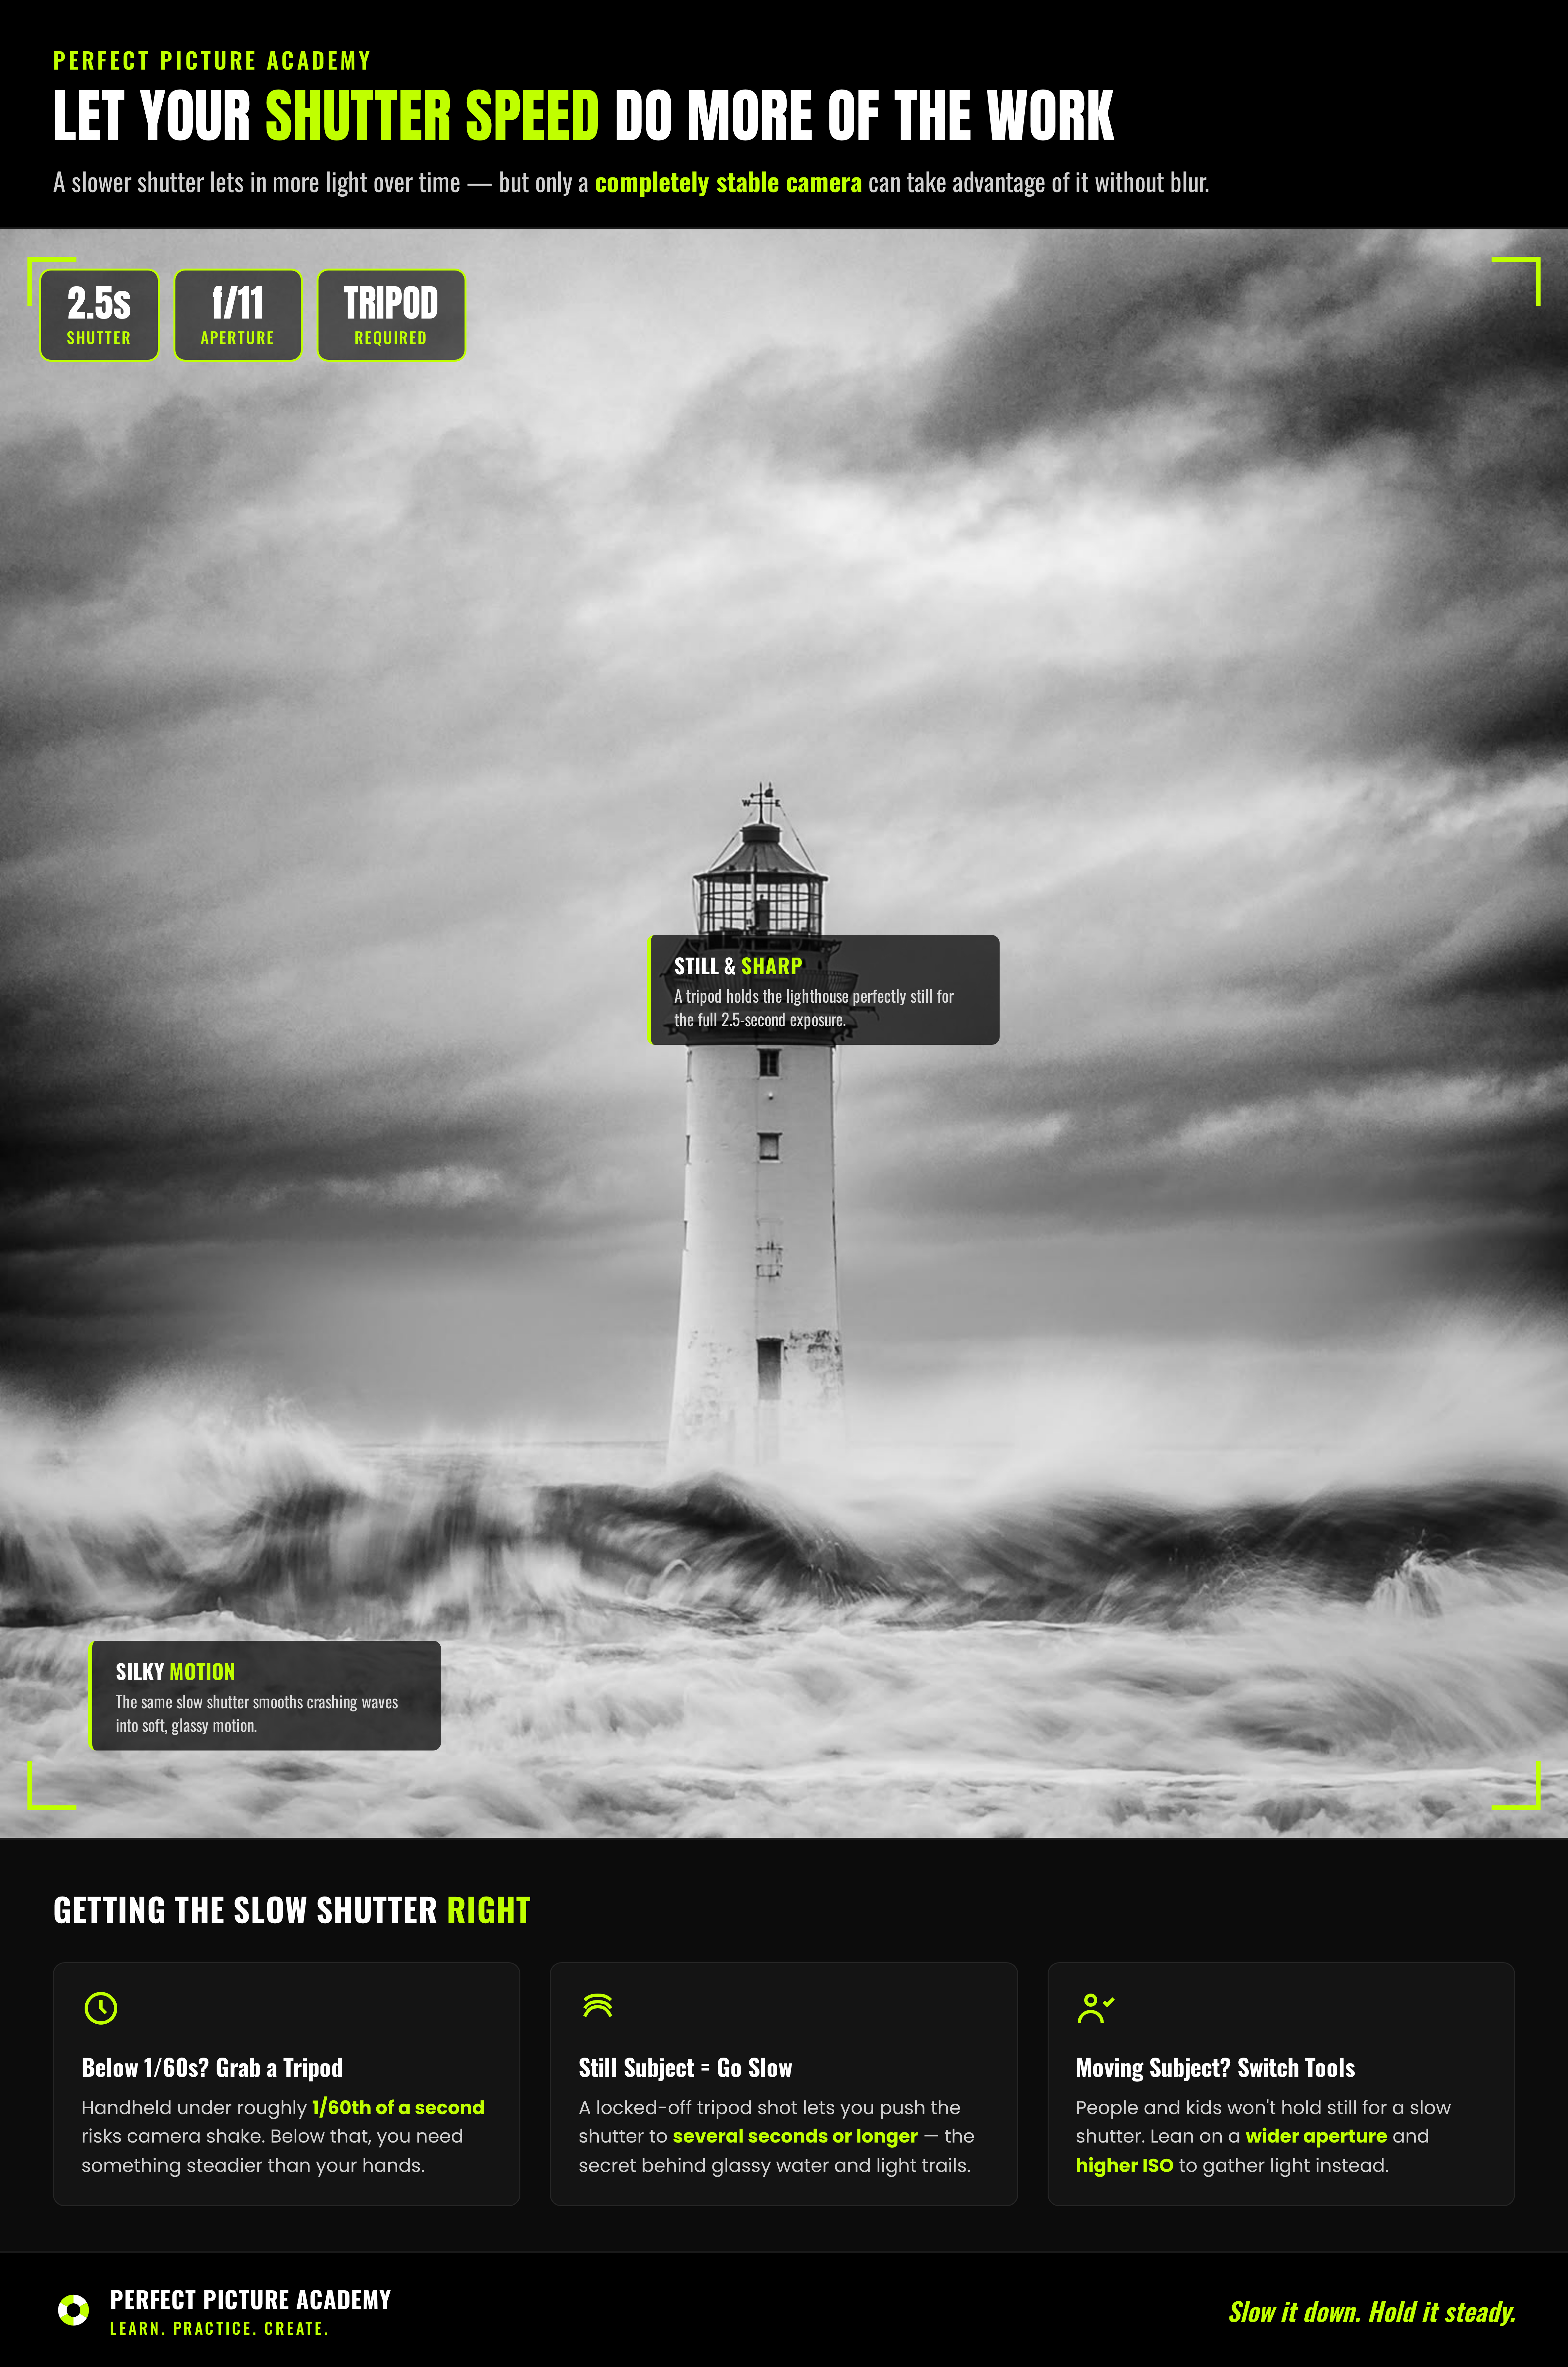
Slowing your shutter speed down lets more light hit your sensor over time, which is exactly what you want in a dim scene. The tricky part is that anything below roughly 1/60th of a second starts to risk camera shake if you're handholding, and even slower than that will blur any subject that moves, intentionally or not.
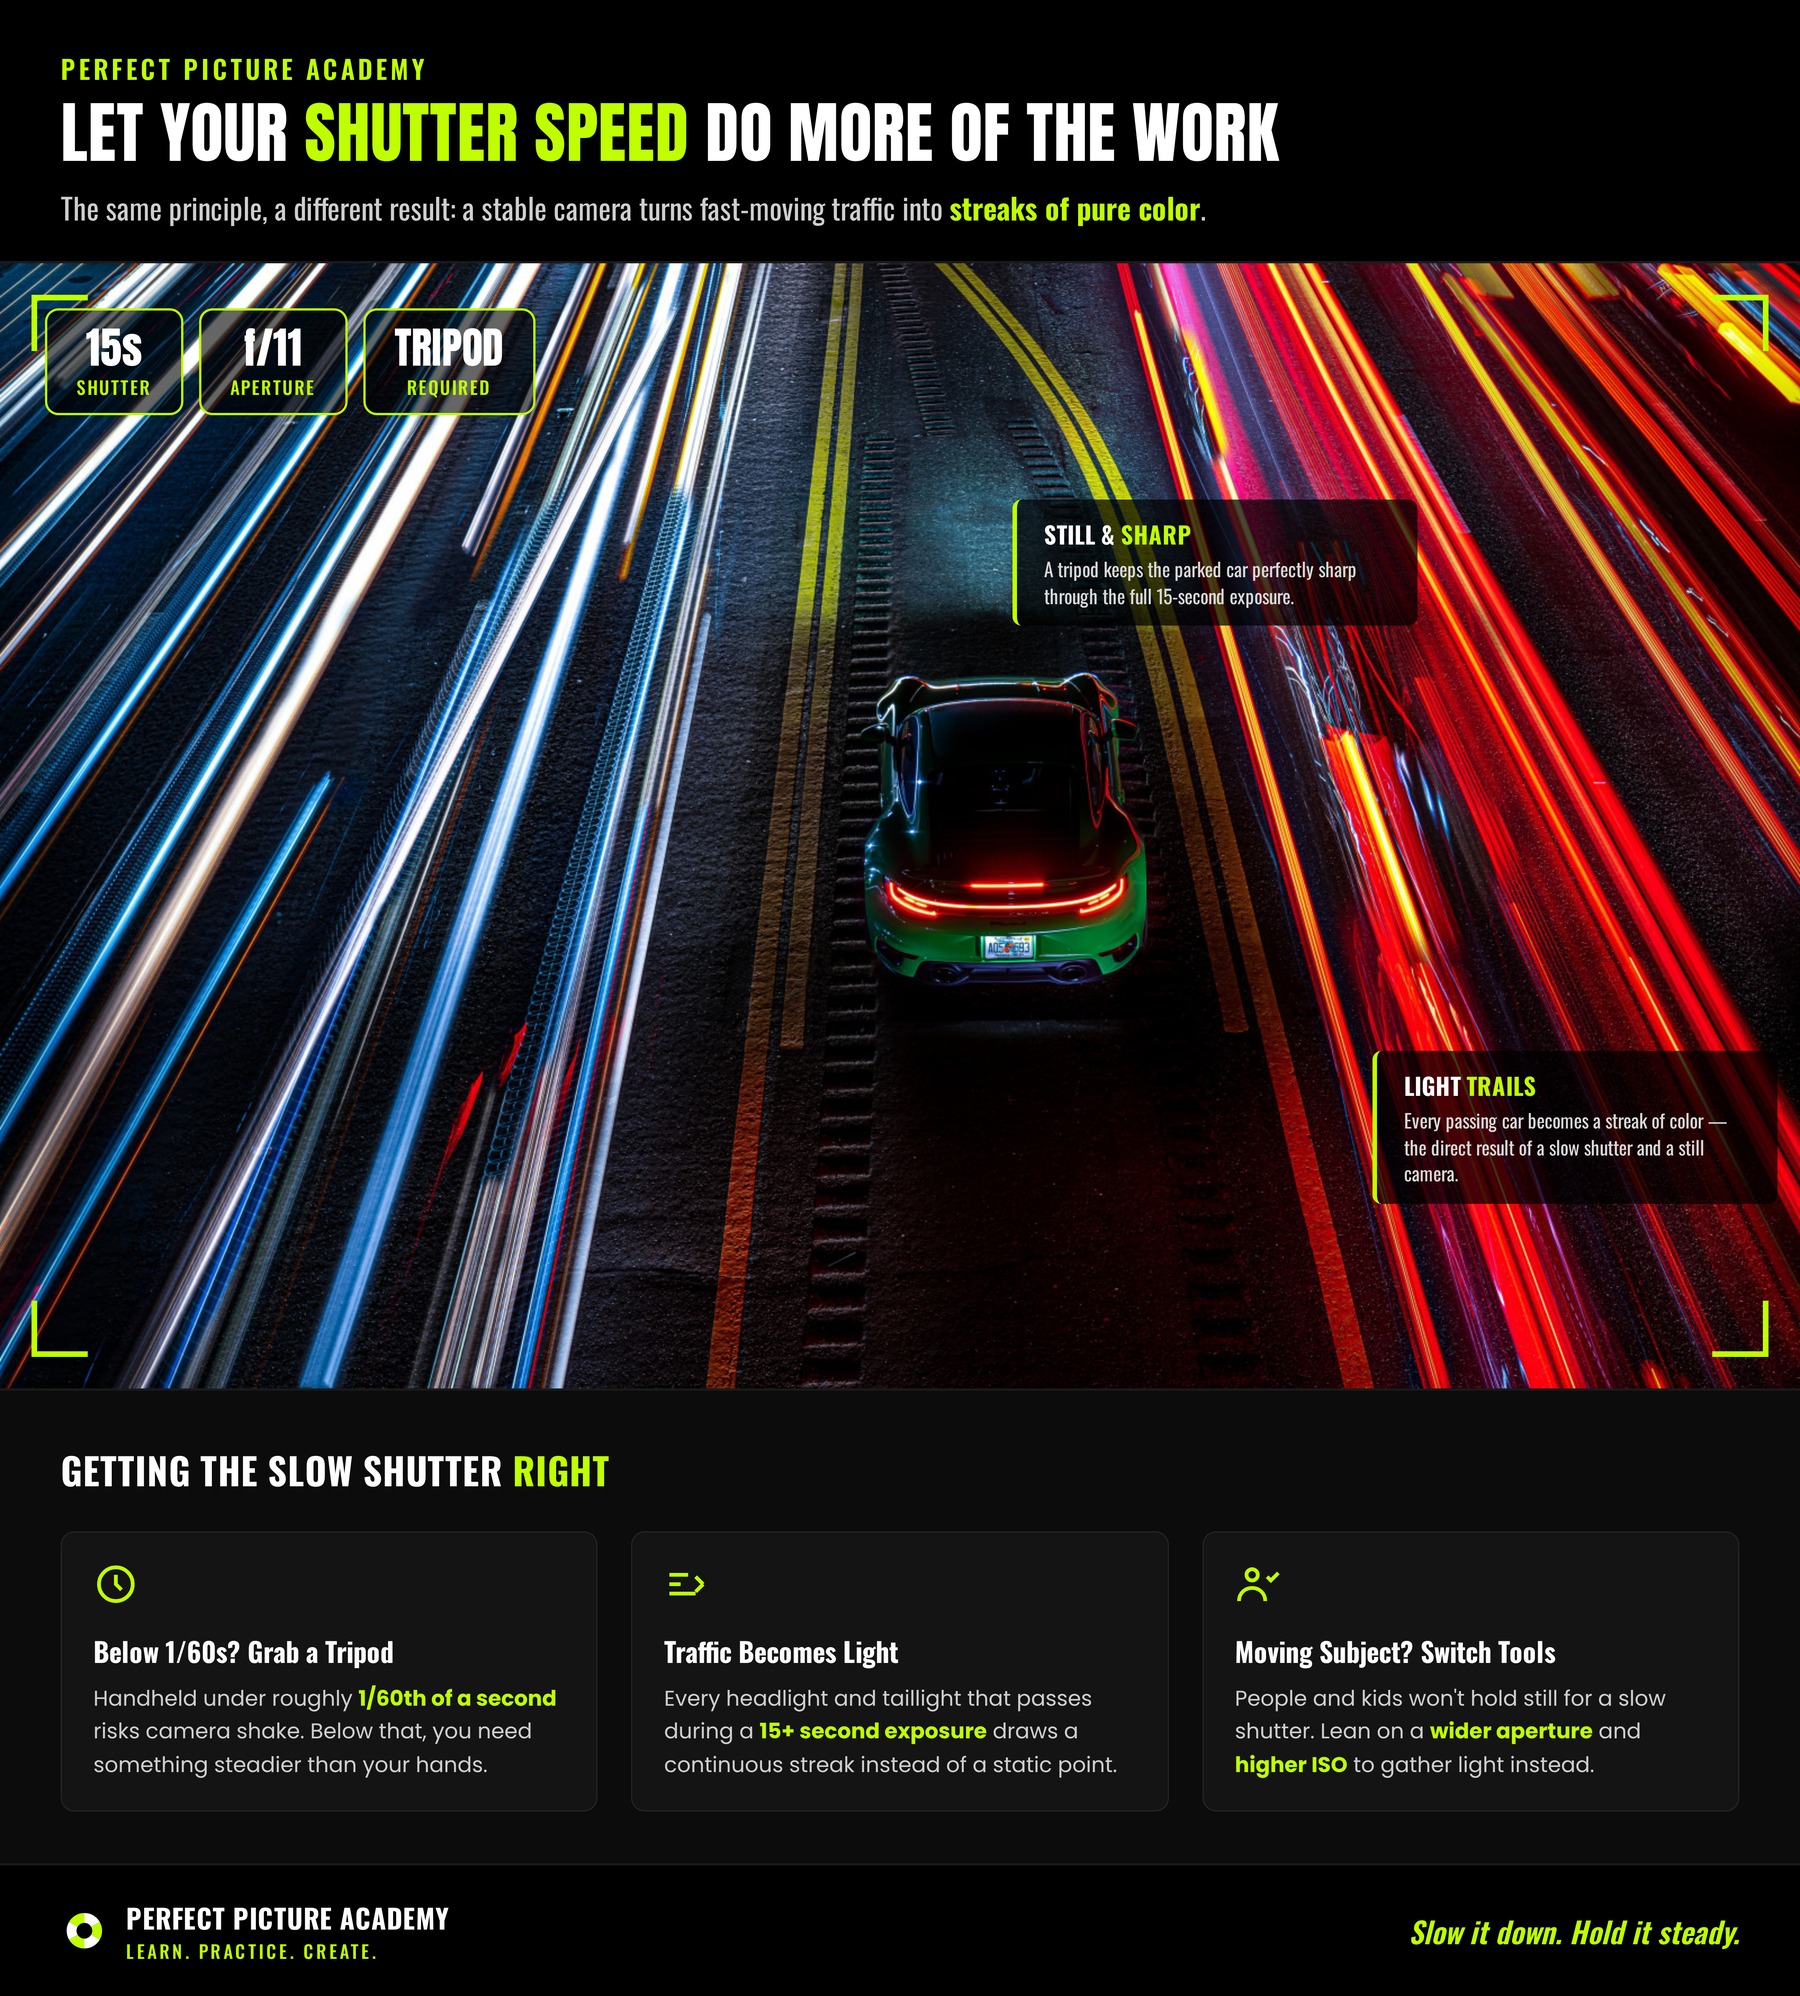
If your subject is still, a tripod is genuinely the best tool you can bring to a nighttime shoot. It frees you up to slow your shutter speed dramatically, sometimes down to several seconds or longer, without worrying about your own hands introducing blur. This is exactly how photographers capture that glassy, silky look on moving water, or the streaking light trails from passing cars, both are the direct result of a slow shutter speed combined with a completely stable camera.
If your subject is moving, like a person walking or kids playing, you don't have the luxury of a slow shutter, so you'll need to lean more heavily on aperture and ISO instead to make up the difference.
Raise Your ISO, But Know Your Camera's Limit
ISO is your third lever, and in low light, you'll almost certainly need to raise it higher than you would during the day. The trade-off, as we've covered before, is noise or grain creeping into your image the higher you push it.
Here's something worth doing this week if you haven't already: take some test shots at increasing ISO levels, 800, 1600, 3200, 6400, in a dim room, and look at them zoomed in on your computer. Every camera has a different threshold where noise starts to genuinely hurt image quality, and that threshold is often higher than people assume. Knowing your own camera's limit ahead of time means you're not guessing in the moment, you already know how far you can comfortably push it.
Use a Tripod Whenever You Can
I mentioned this above, but it deserves its own moment, because a tripod is genuinely the single biggest quality upgrade you can bring to nighttime photography, more impactful than almost any lens or camera body upgrade. It removes camera shake from the equation entirely, which means you can lower your ISO for cleaner images and use much slower shutter speeds without any compromise.
If you don't own a tripod yet, even a small, cheap travel tripod is worth having in your bag. And if you're truly caught without one, brace your camera against something solid, a railing, a wall, a table, and use a timer so your own finger pressing the shutter doesn't introduce shake.
Look for Light, Don't Fight the Dark
This mindset shift changed my nighttime photography more than any setting ever did. Instead of thinking of low light as a problem to overcome, start actively looking for pockets of light within the darkness, streetlights, neon signs, a lit window, string lights, even the glow from someone's phone screen. These small light sources become your subject's natural spotlight, and the darkness around them becomes a dramatic, moody backdrop instead of just a technical obstacle.
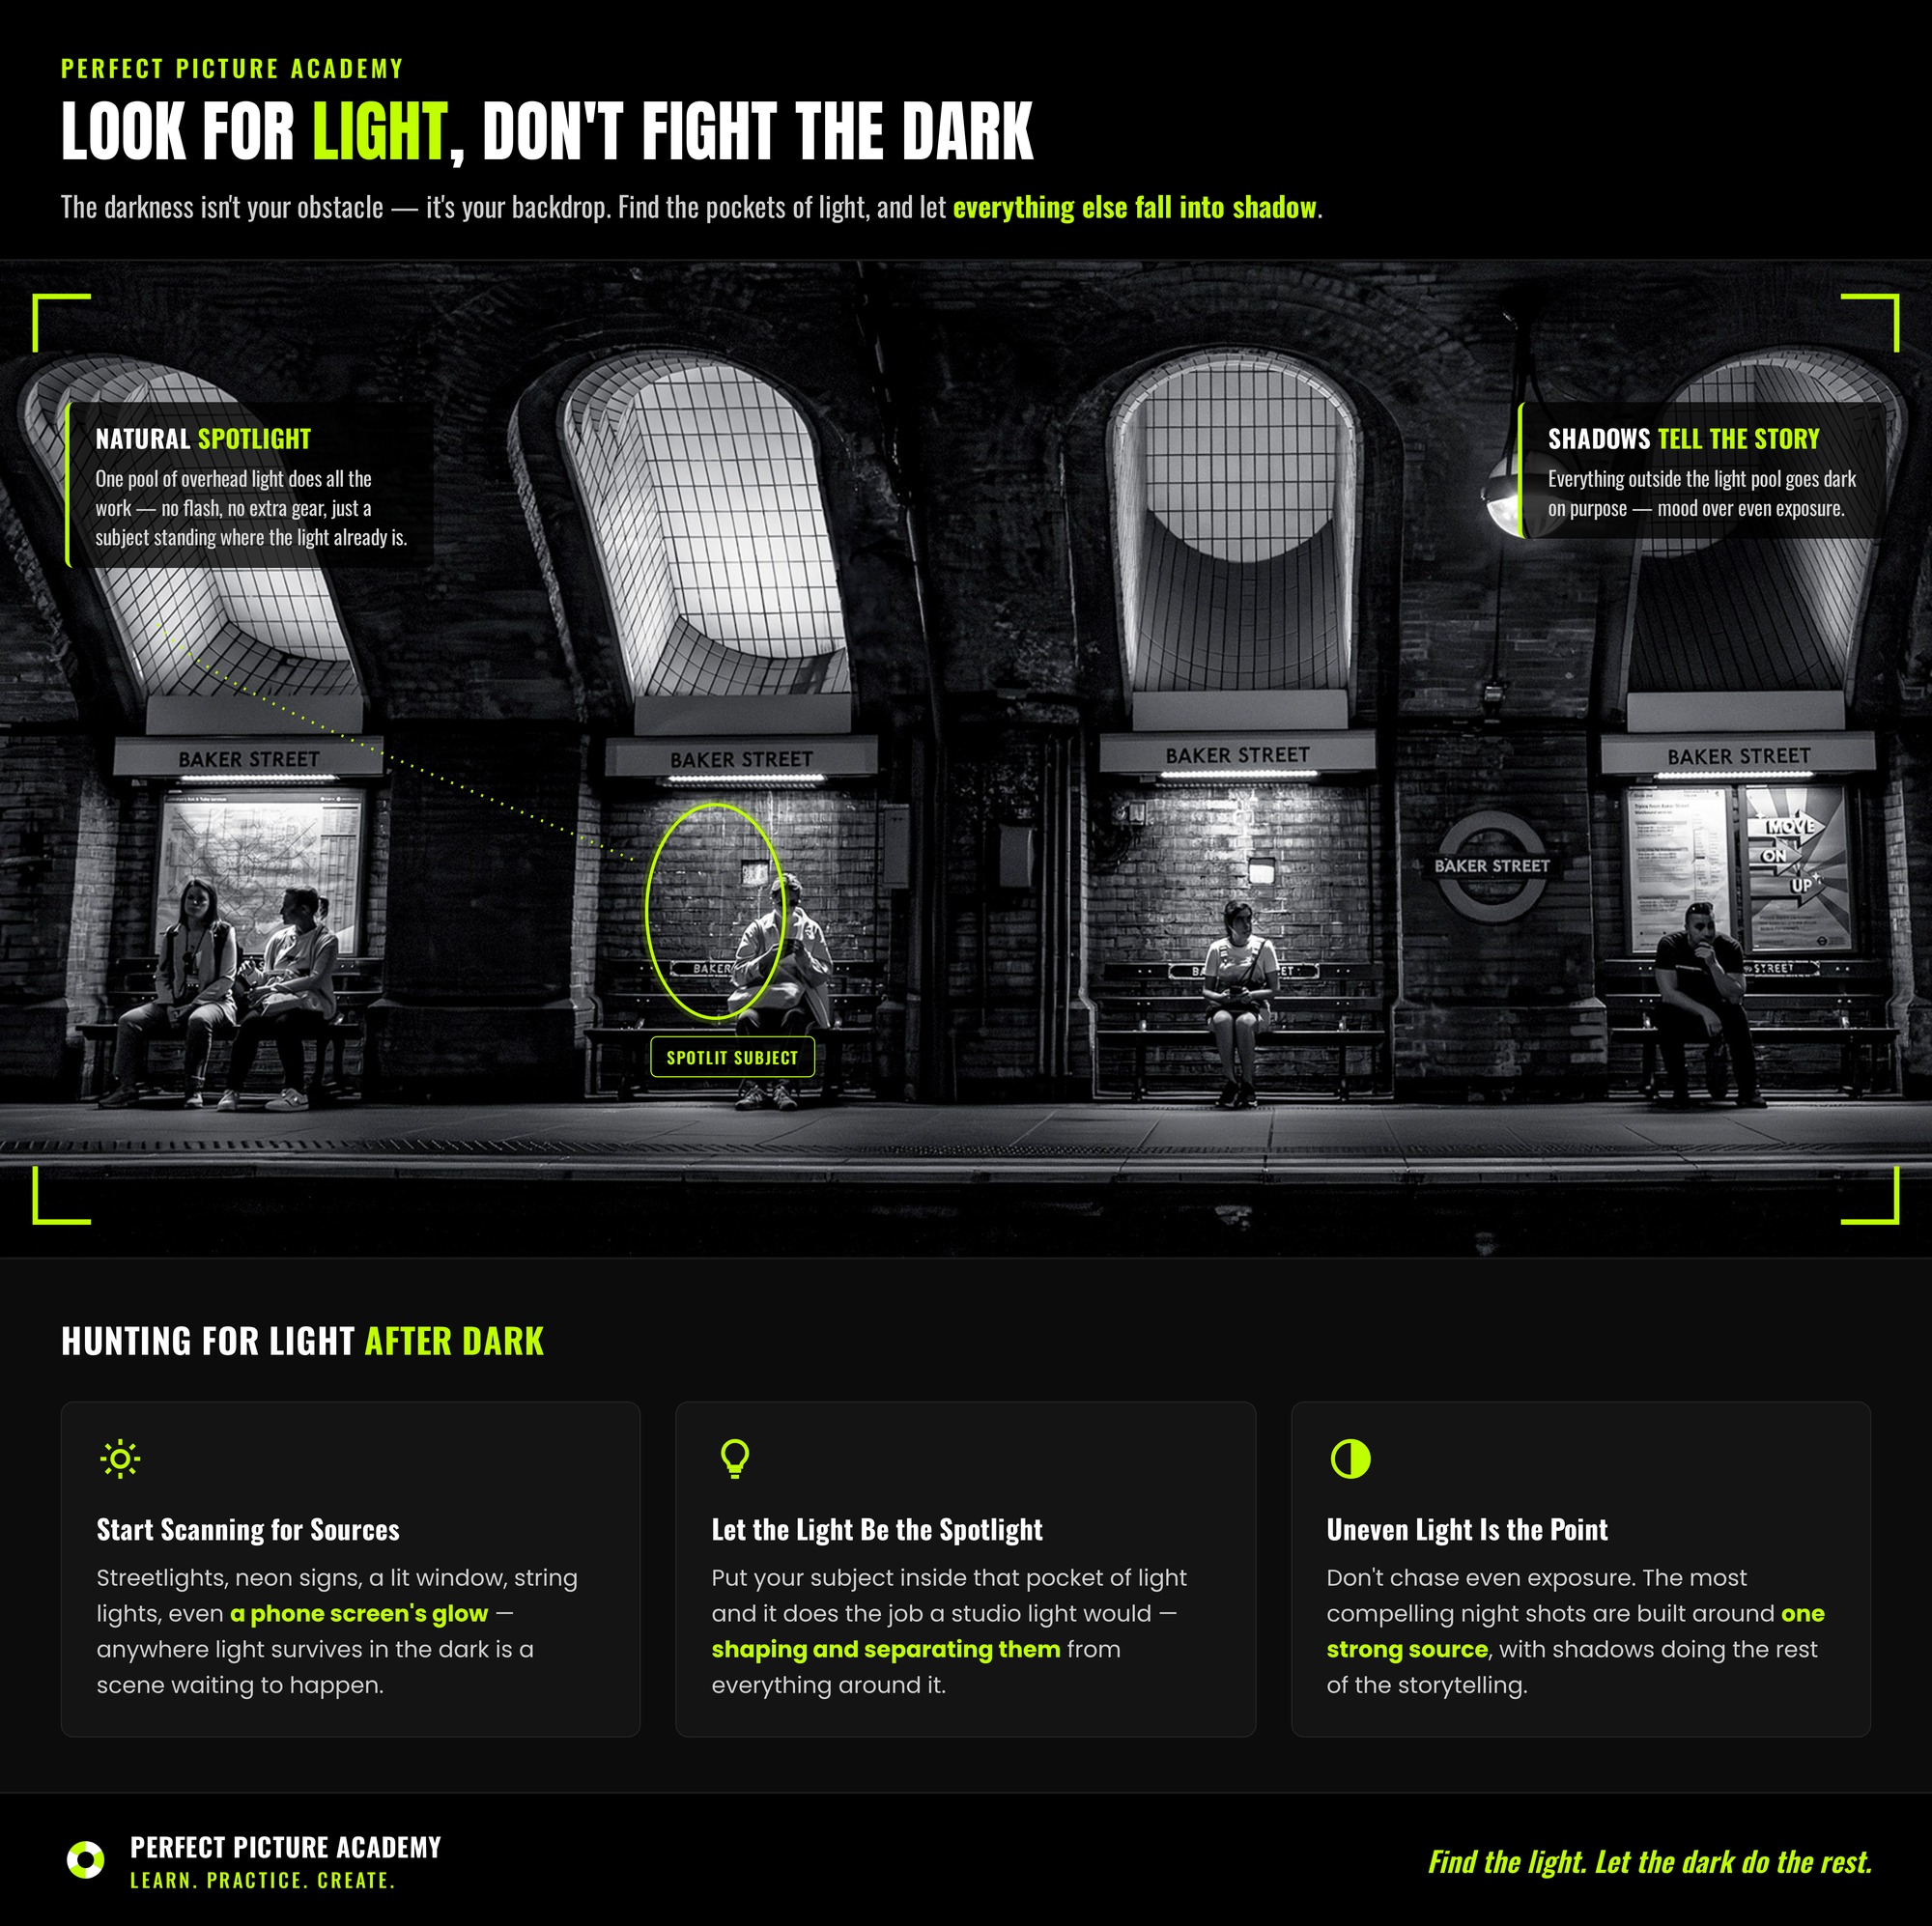
Some of the most compelling nighttime pictures aren't evenly lit at all, they're built entirely around a single strong light source and let the shadows do the rest of the storytelling.
Shoot in RAW
If your camera supports it, shoot in RAW format rather than JPEG for low light and nighttime work specifically. RAW files hold onto significantly more detail in the shadows, which gives you much more room to recover and fine-tune your exposure afterward without the picture falling apart. A slightly underexposed RAW file can often be rescued beautifully in editing, while a slightly underexposed JPEG tends to fall apart quickly when you try to brighten it.
Final Thoughts
Low light and nighttime photography ask you to be more deliberate with every setting, there's no room for auto mode to guess its way through a dark scene the way it might get lucky in bright daylight. But that deliberateness is exactly what makes the results feel special. A wide aperture, a thoughtful shutter speed, an ISO you understand the limits of, and ideally a tripod, that combination will take you from grainy disappointment to genuinely striking after-dark pictures.
Don't put your camera away when the sun goes down. Some of your best work is still ahead of you that evening.
Ready to take pictures you're proud of?
Start with my free Camera Settings Checklist. It shows you exactly what to check before every shot, so you never miss an important setting again.
When you're ready to go further, Premium teaches you my SIMPLE system step by step, so you can take pictures you're proud of with the camera you already own.
Get Your Free Camera Settings Checklist
Know exactly what to check before every shot, so you never miss an important setting again. Free, straight to your inbox.
No spam, ever. Unsubscribe any time. Our Privacy Policy is linked at the bottom of this page.